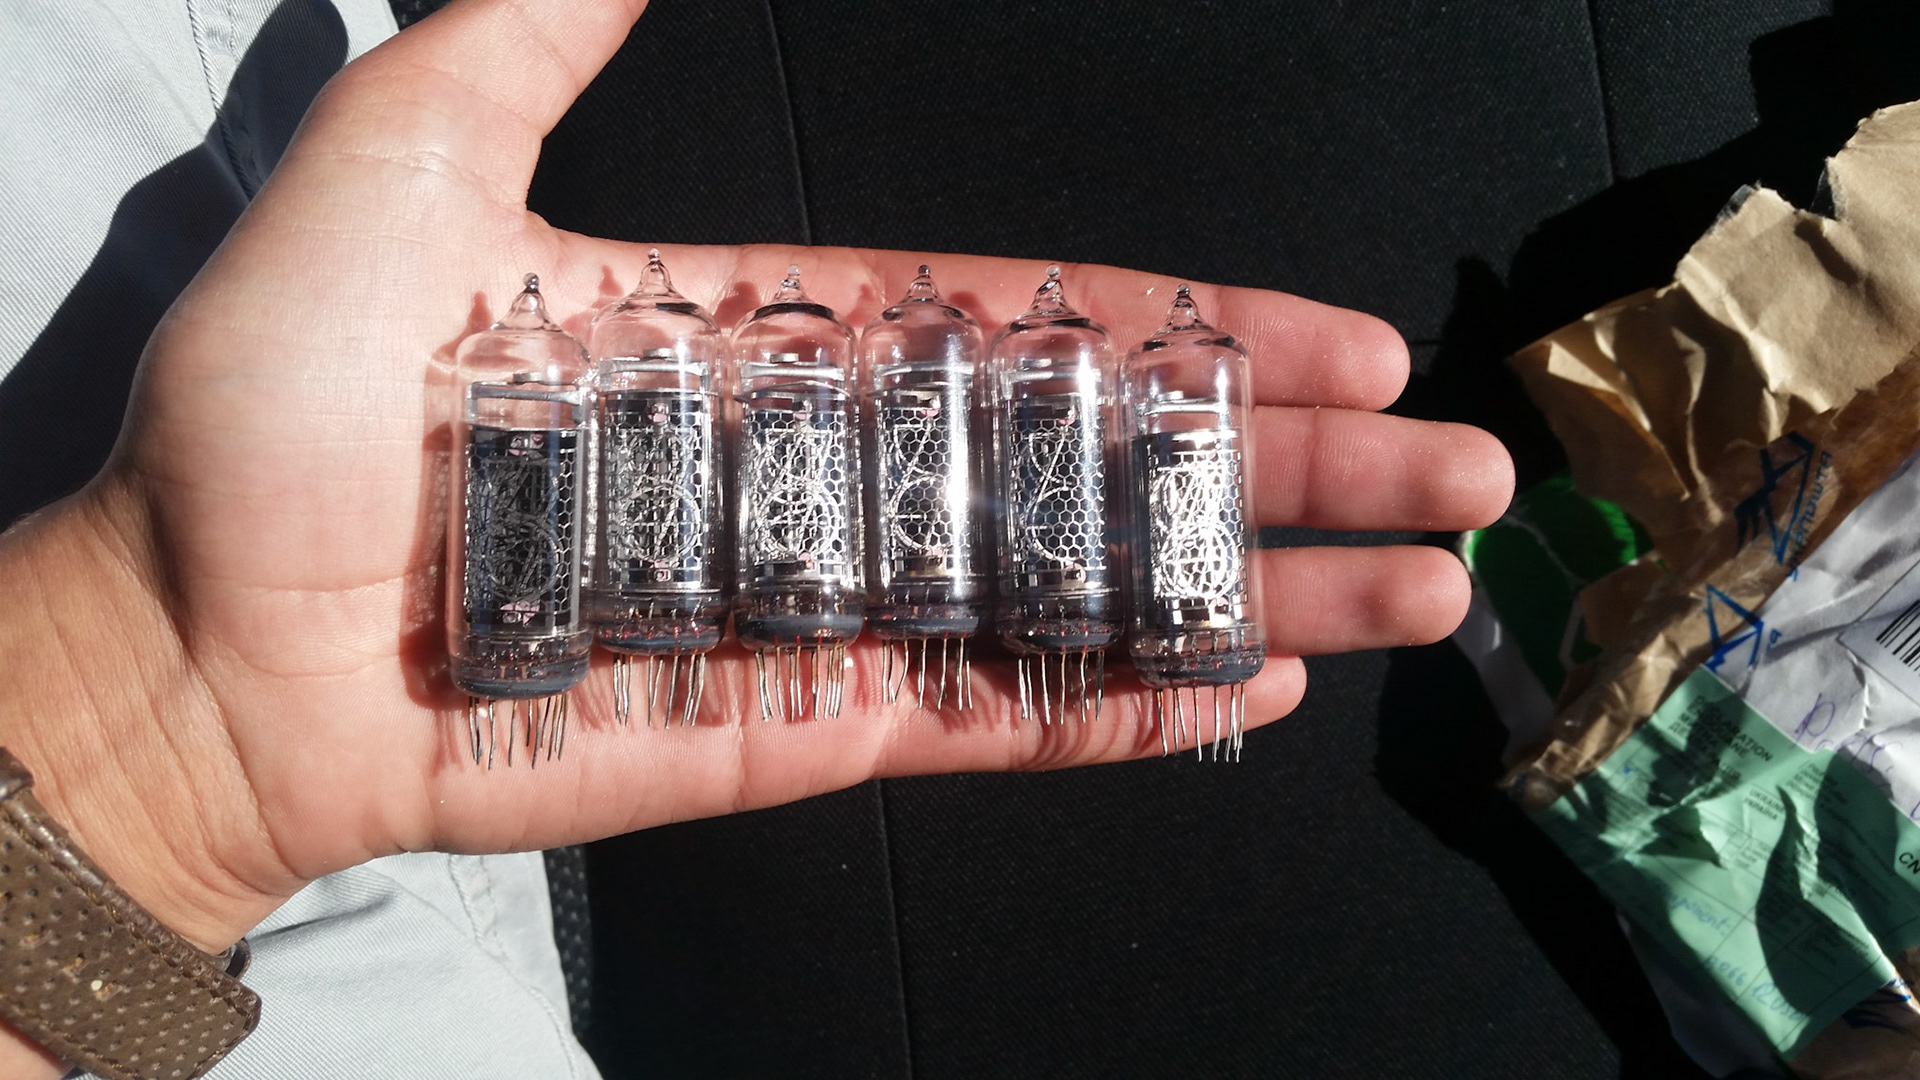
After visiting Disneyland and examining one of their film prop showcases I discover this vacuum tube clock that was unlike anything I have seen before. Once I returned home I immediately began researching to discover that it was a nixie tube clock. Nixie tubes are vintage nitrogen vacuum tube with filaments for all digits 0 through 9. With six of these tubes you can create a clock.
Since it was the the end of 7th grade and summer was about to start, it was a perfect time to begin a new project! I researched what parts I will need and what other people have done to create my own. First I ordered the tubes off of Ebay and some pcbs to mount the tubes so that it is easier to attach them to the final circuit board. Additionally, I ordered a power converter which turns the 9v input to a 180v output to drive the tubes. Luckily nixie tubes do not require many amps to power them so, electrocution is not a huge concern. The first gallery displays me testing the tubes.
The clock above was used in the film Tomorrowland and was my inspiration to build one of my own.
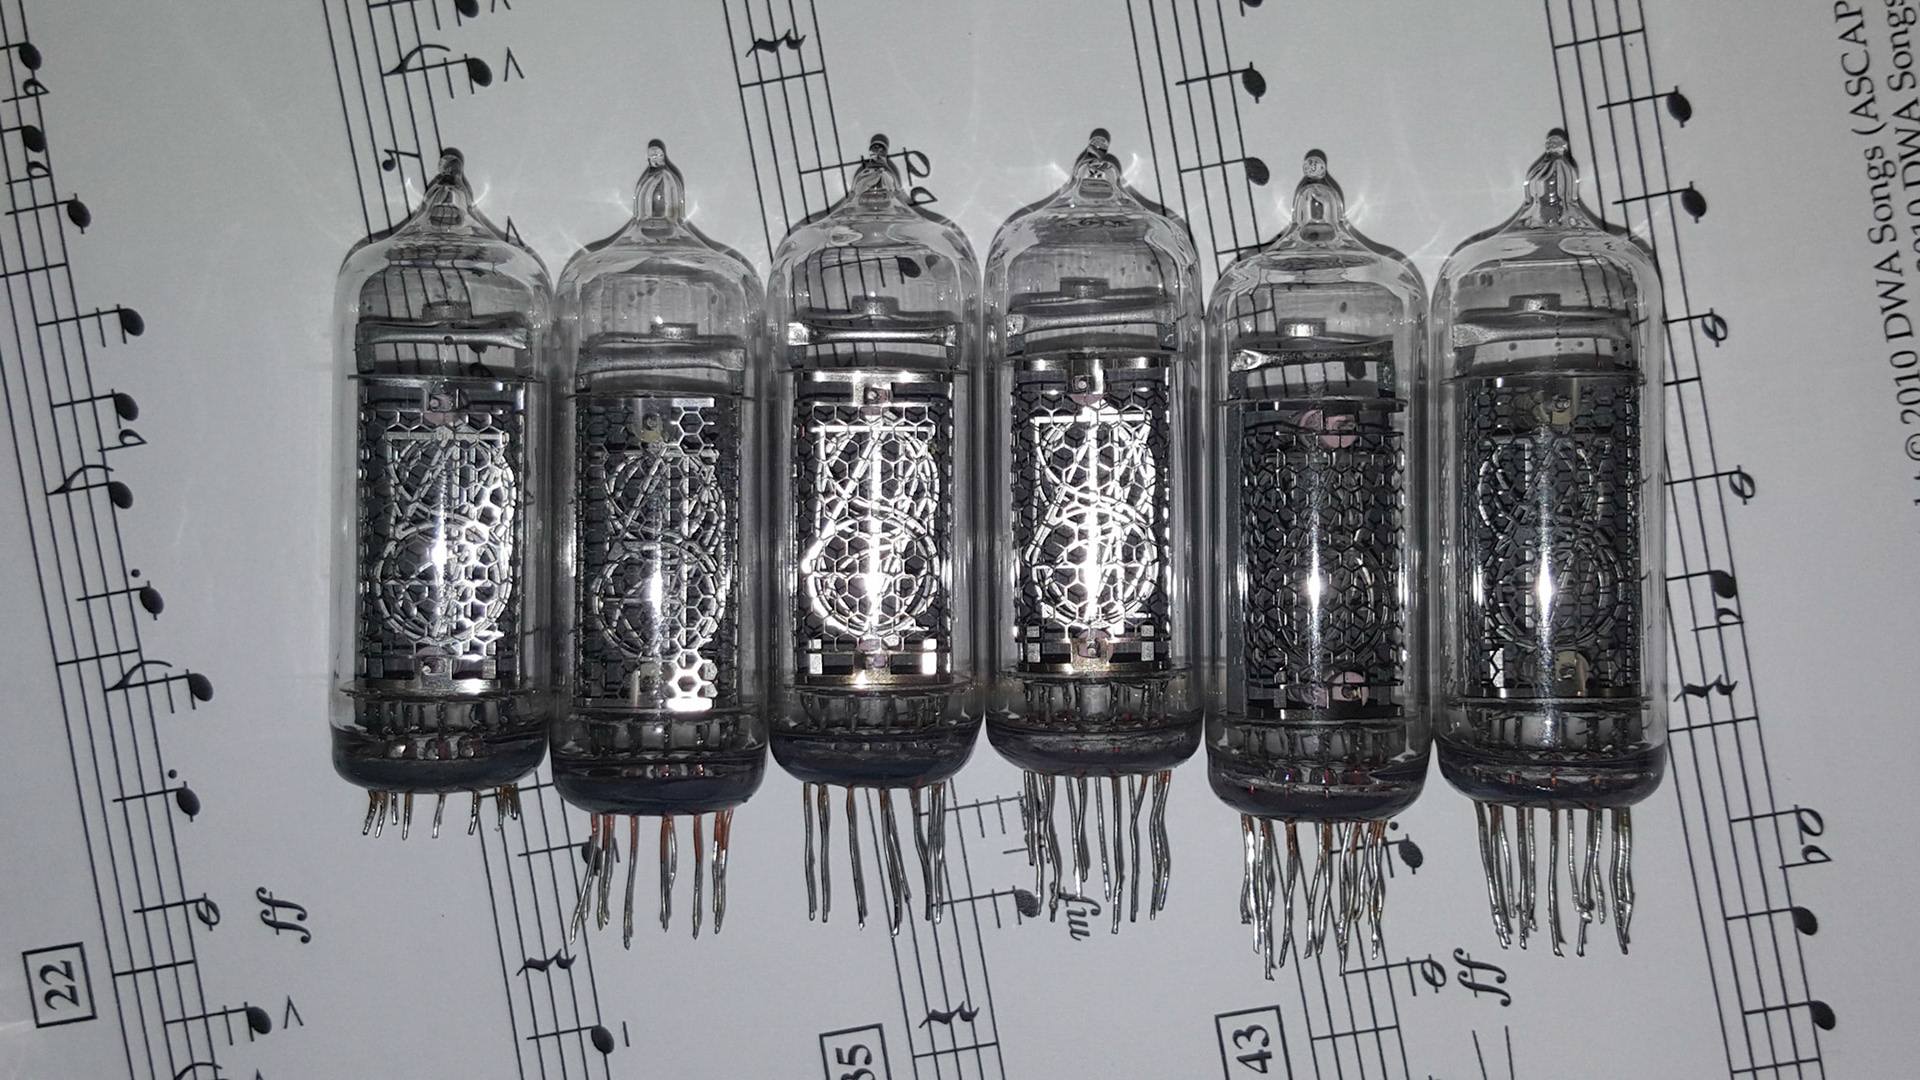
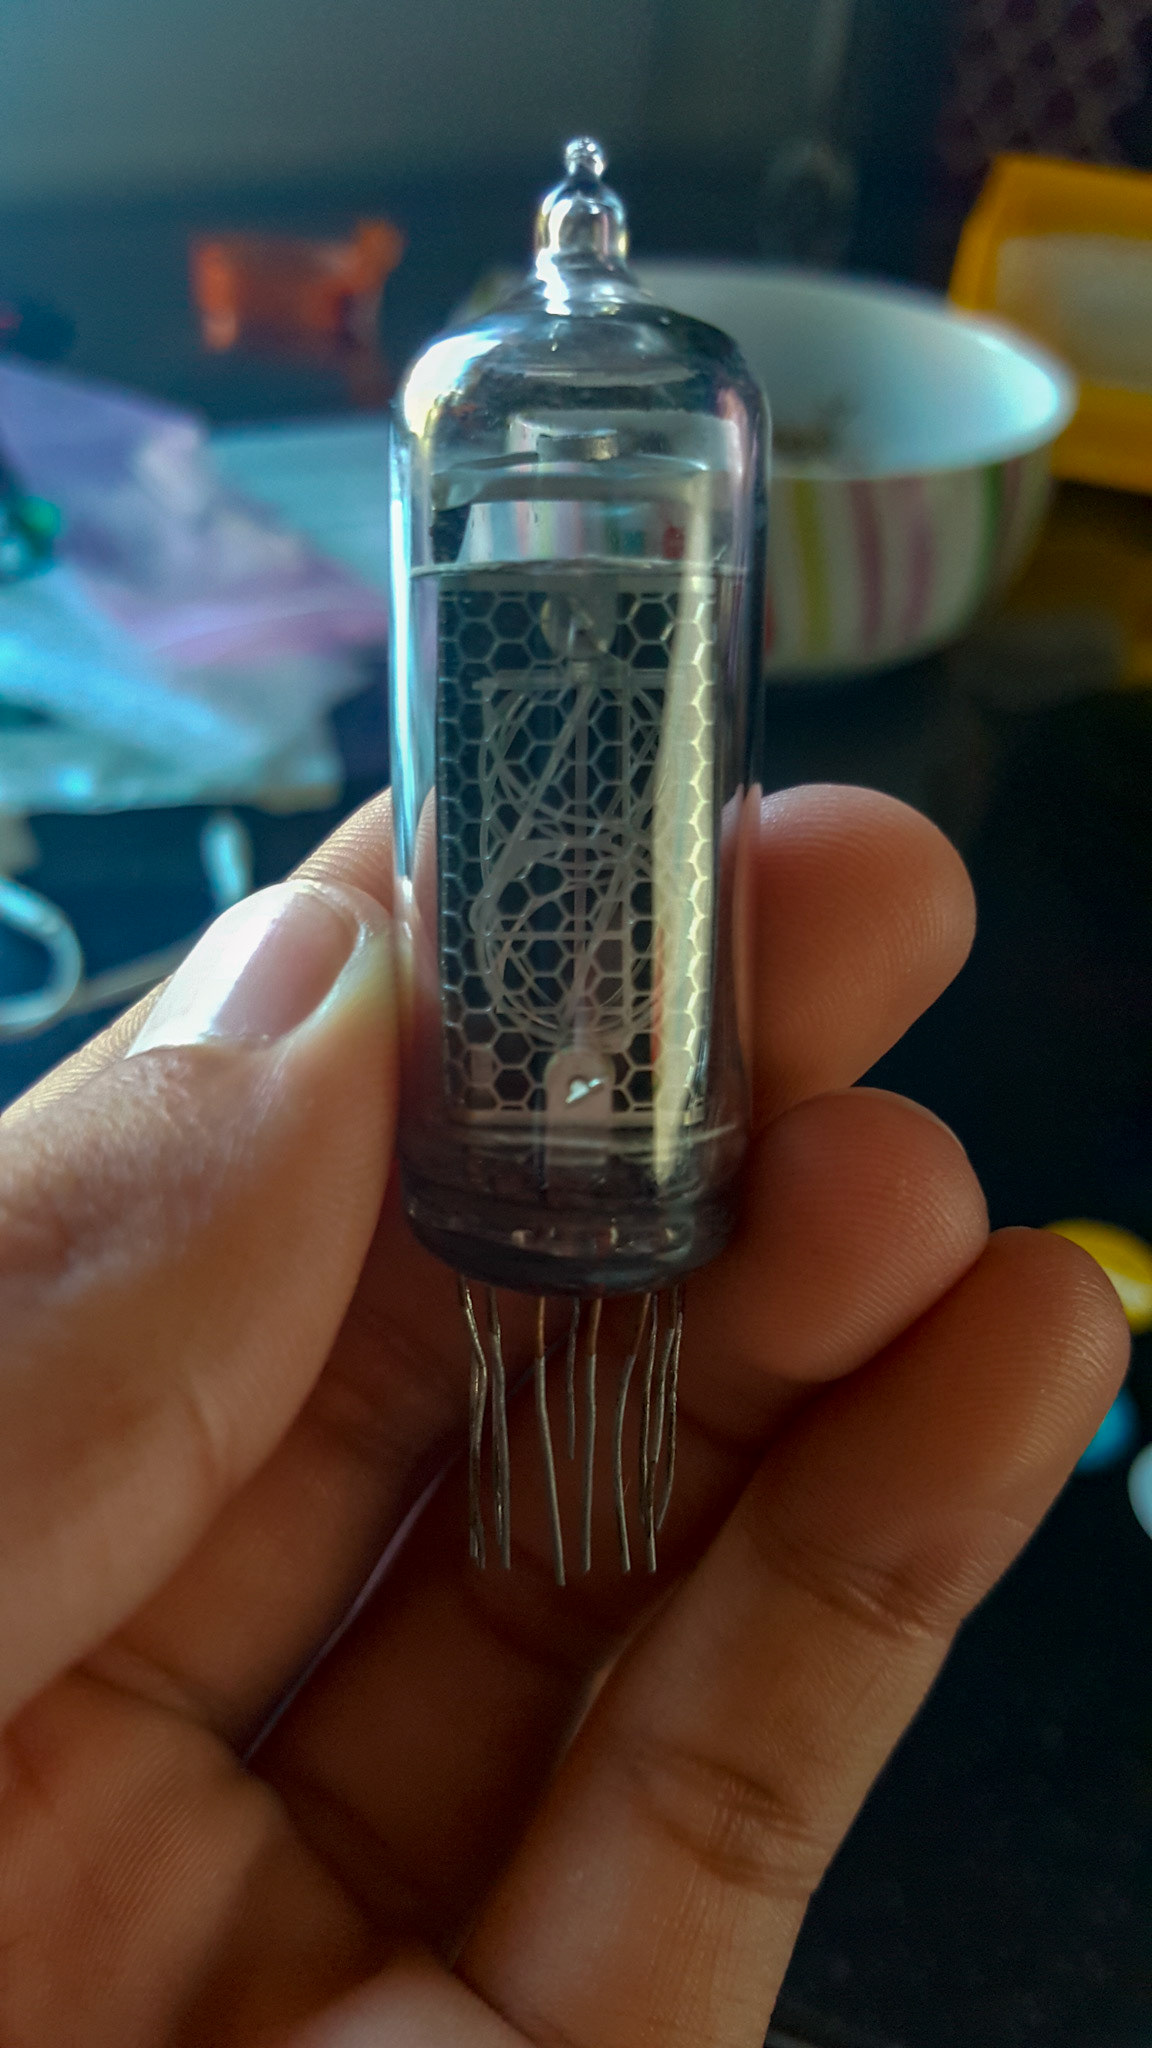
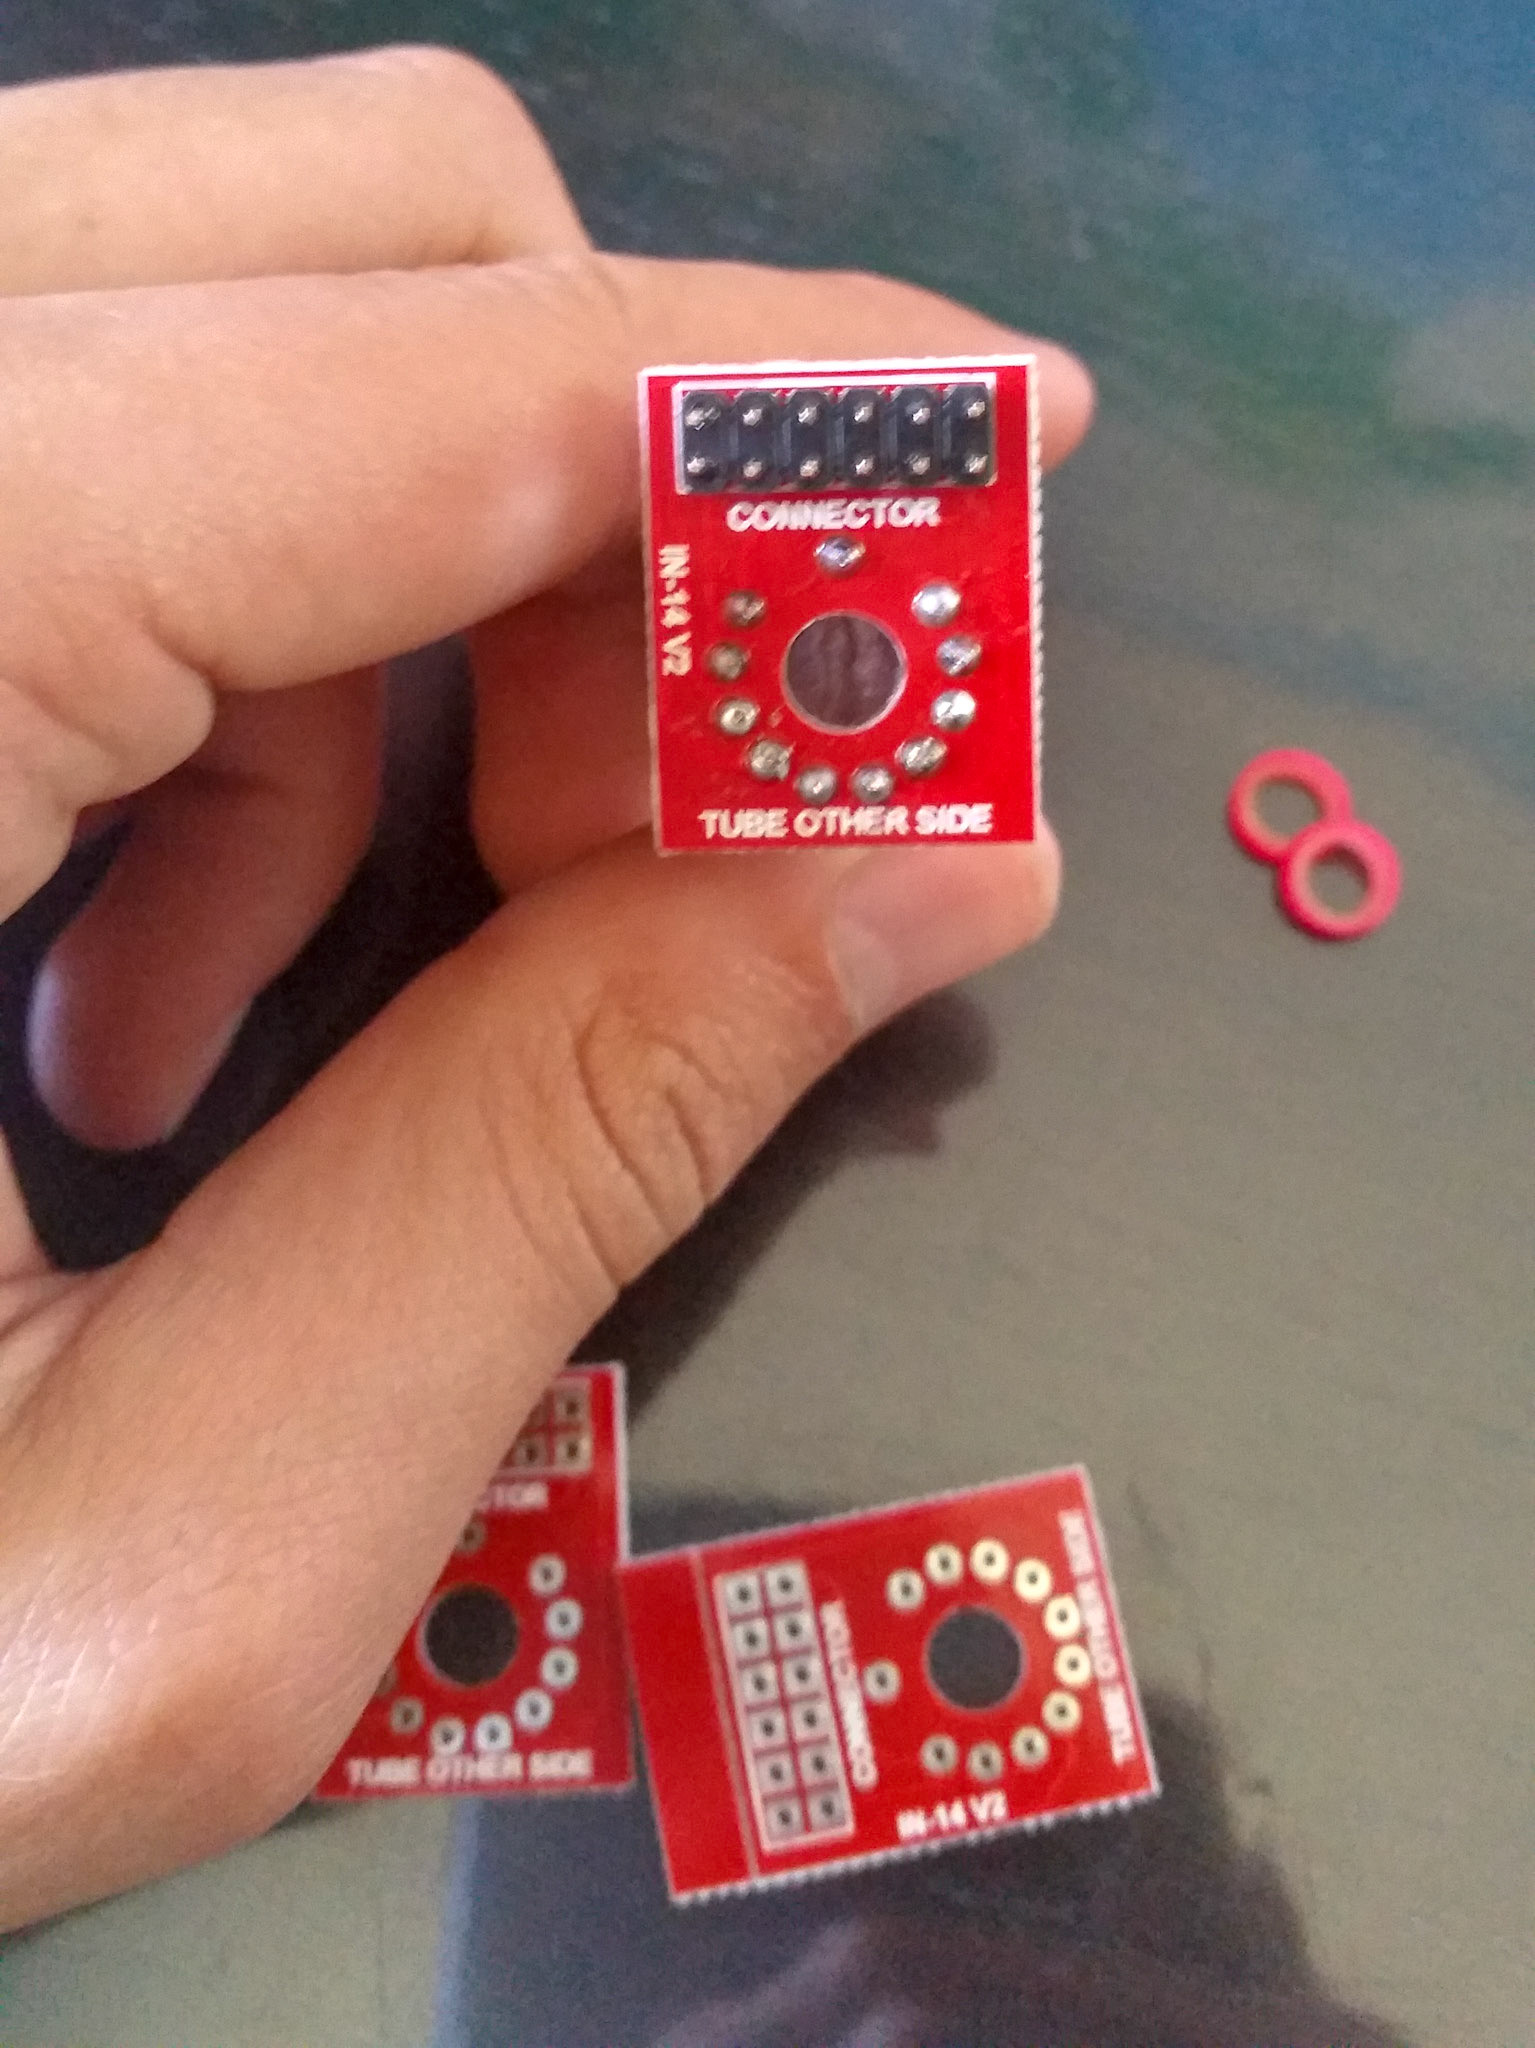
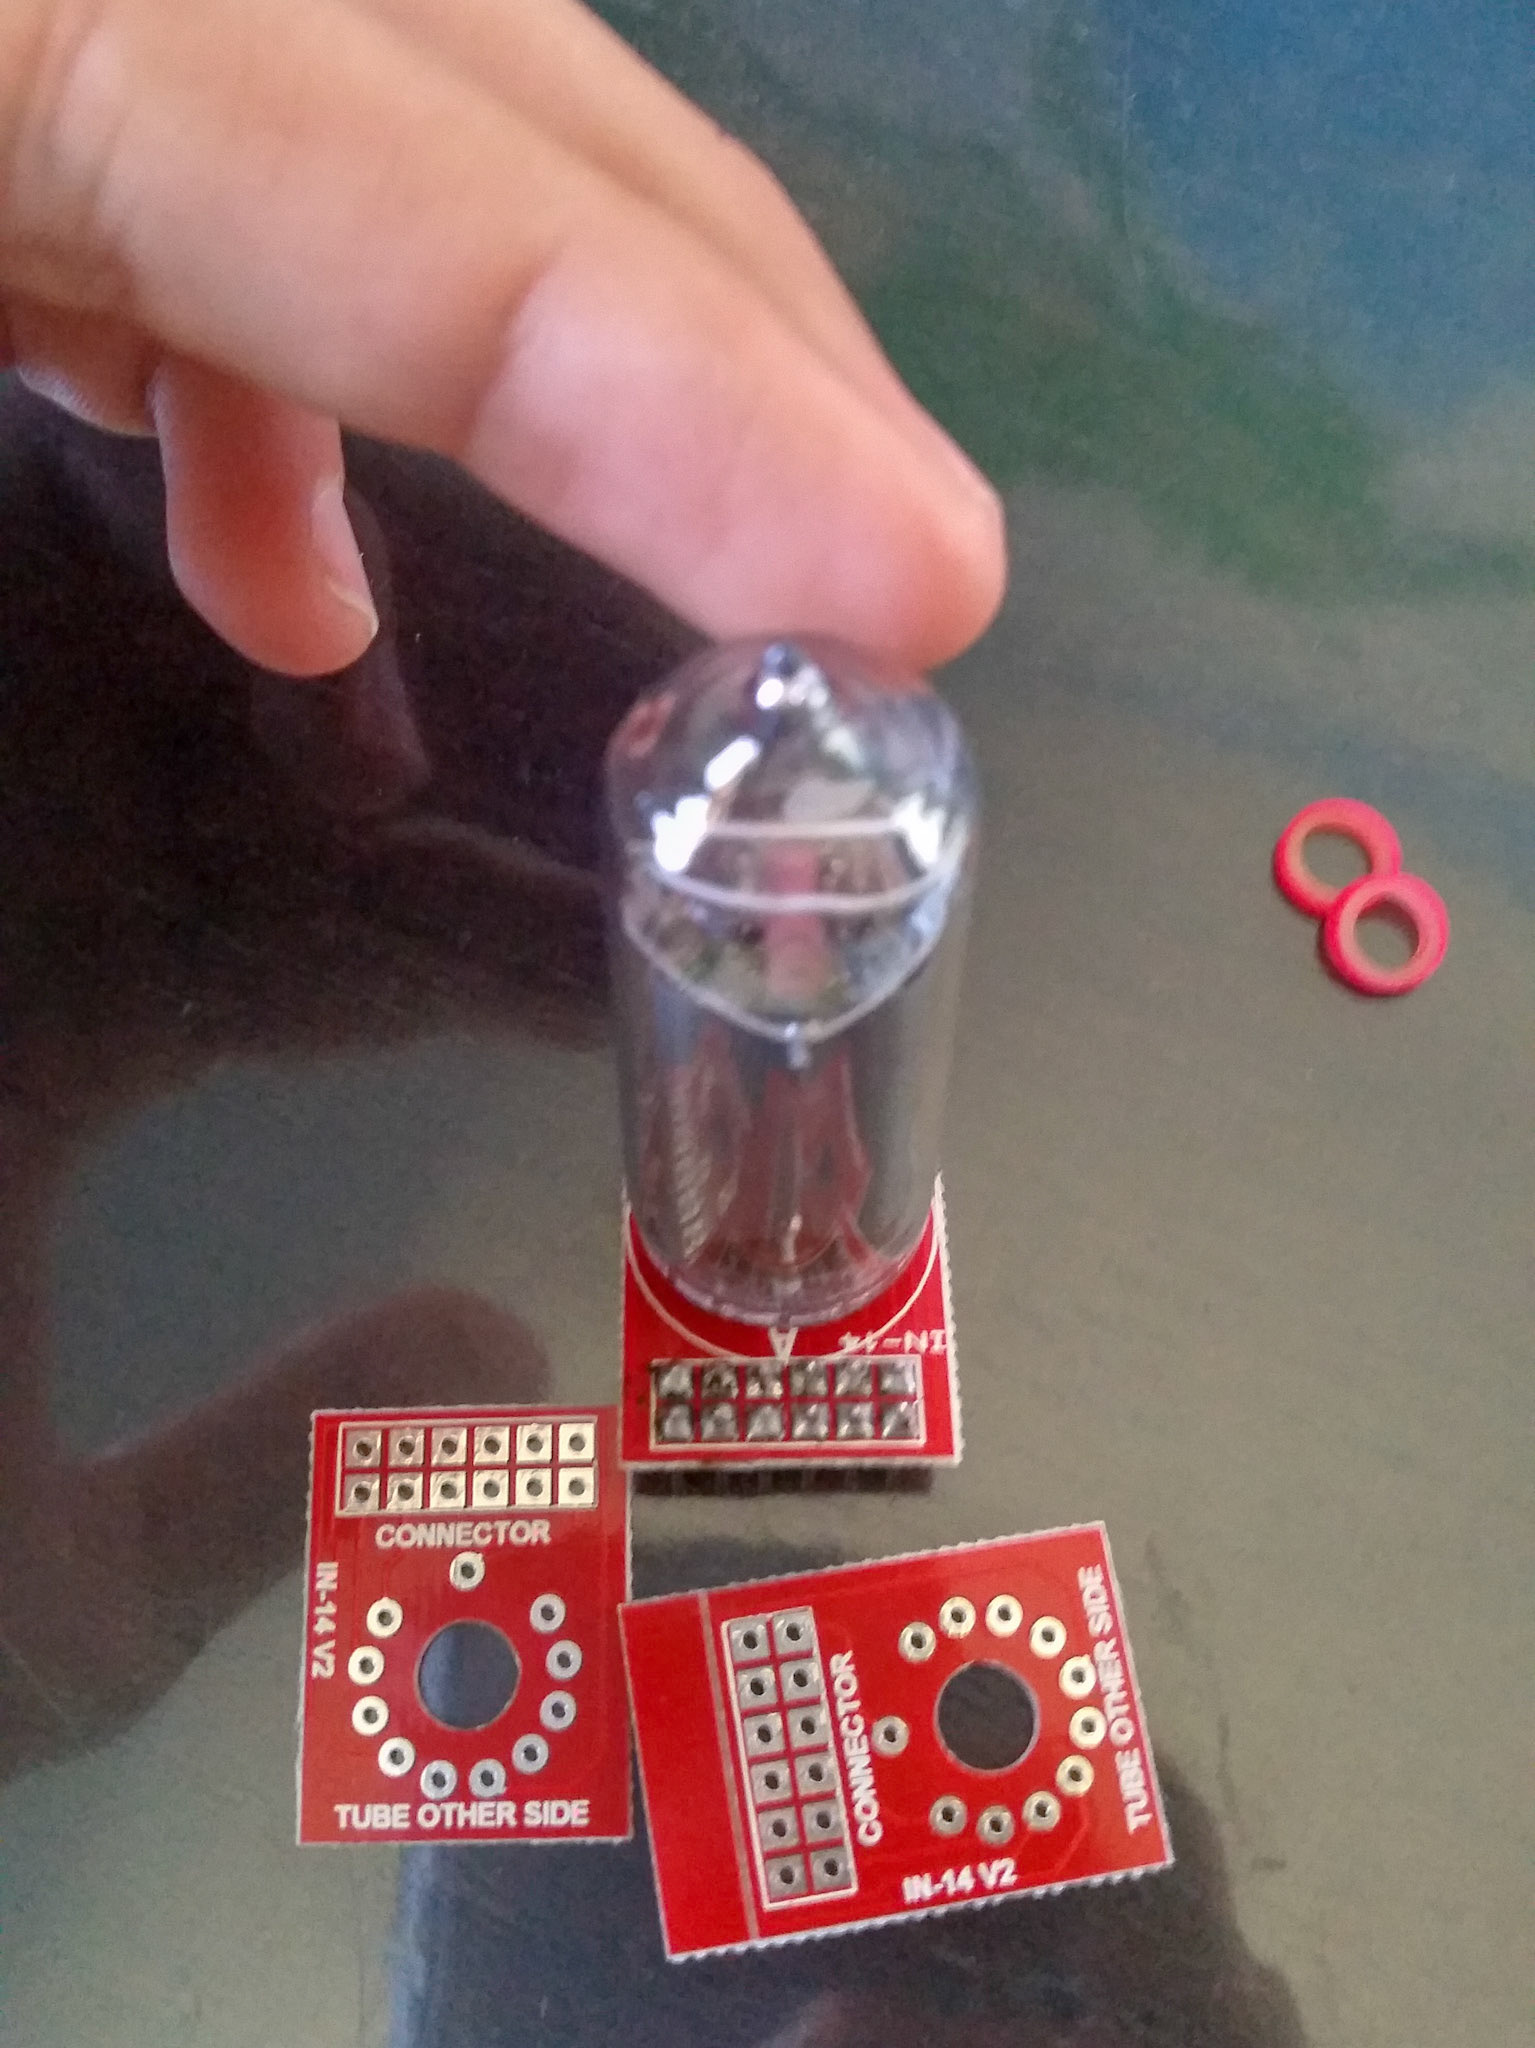

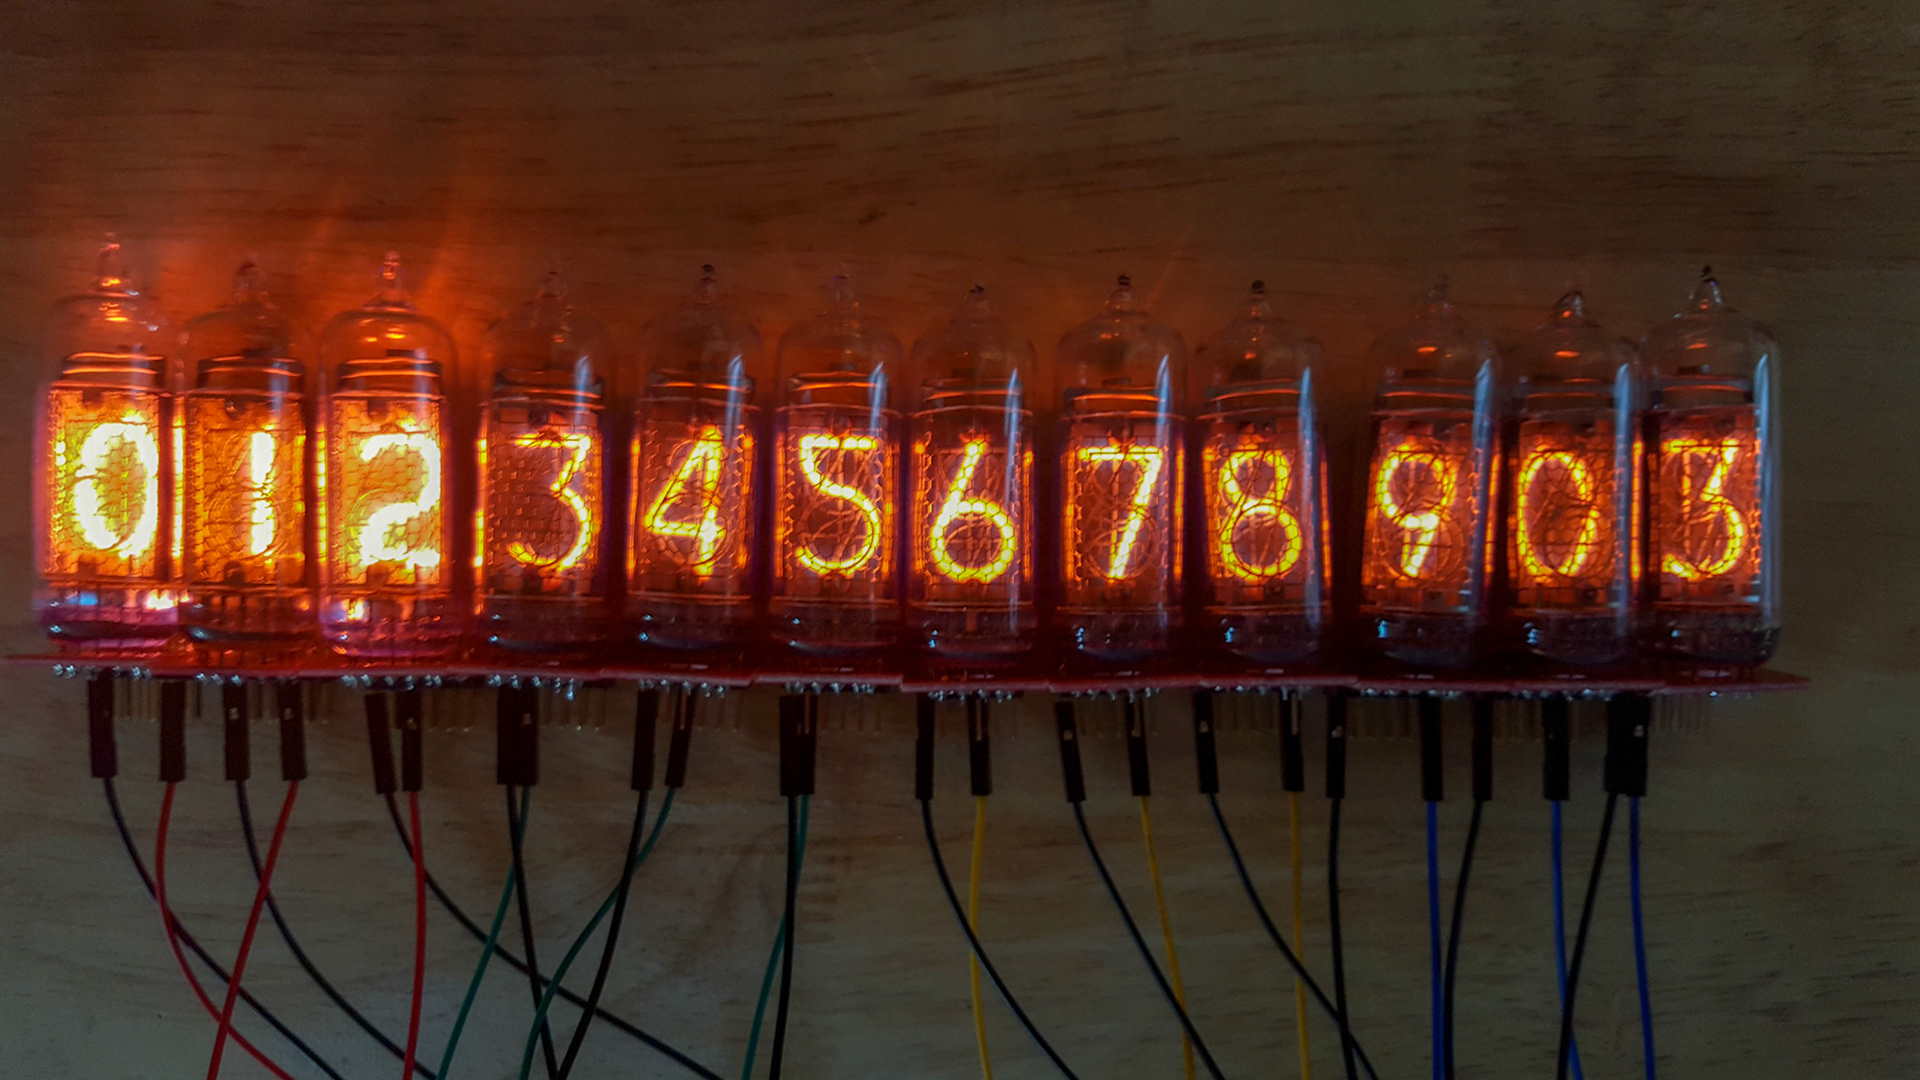
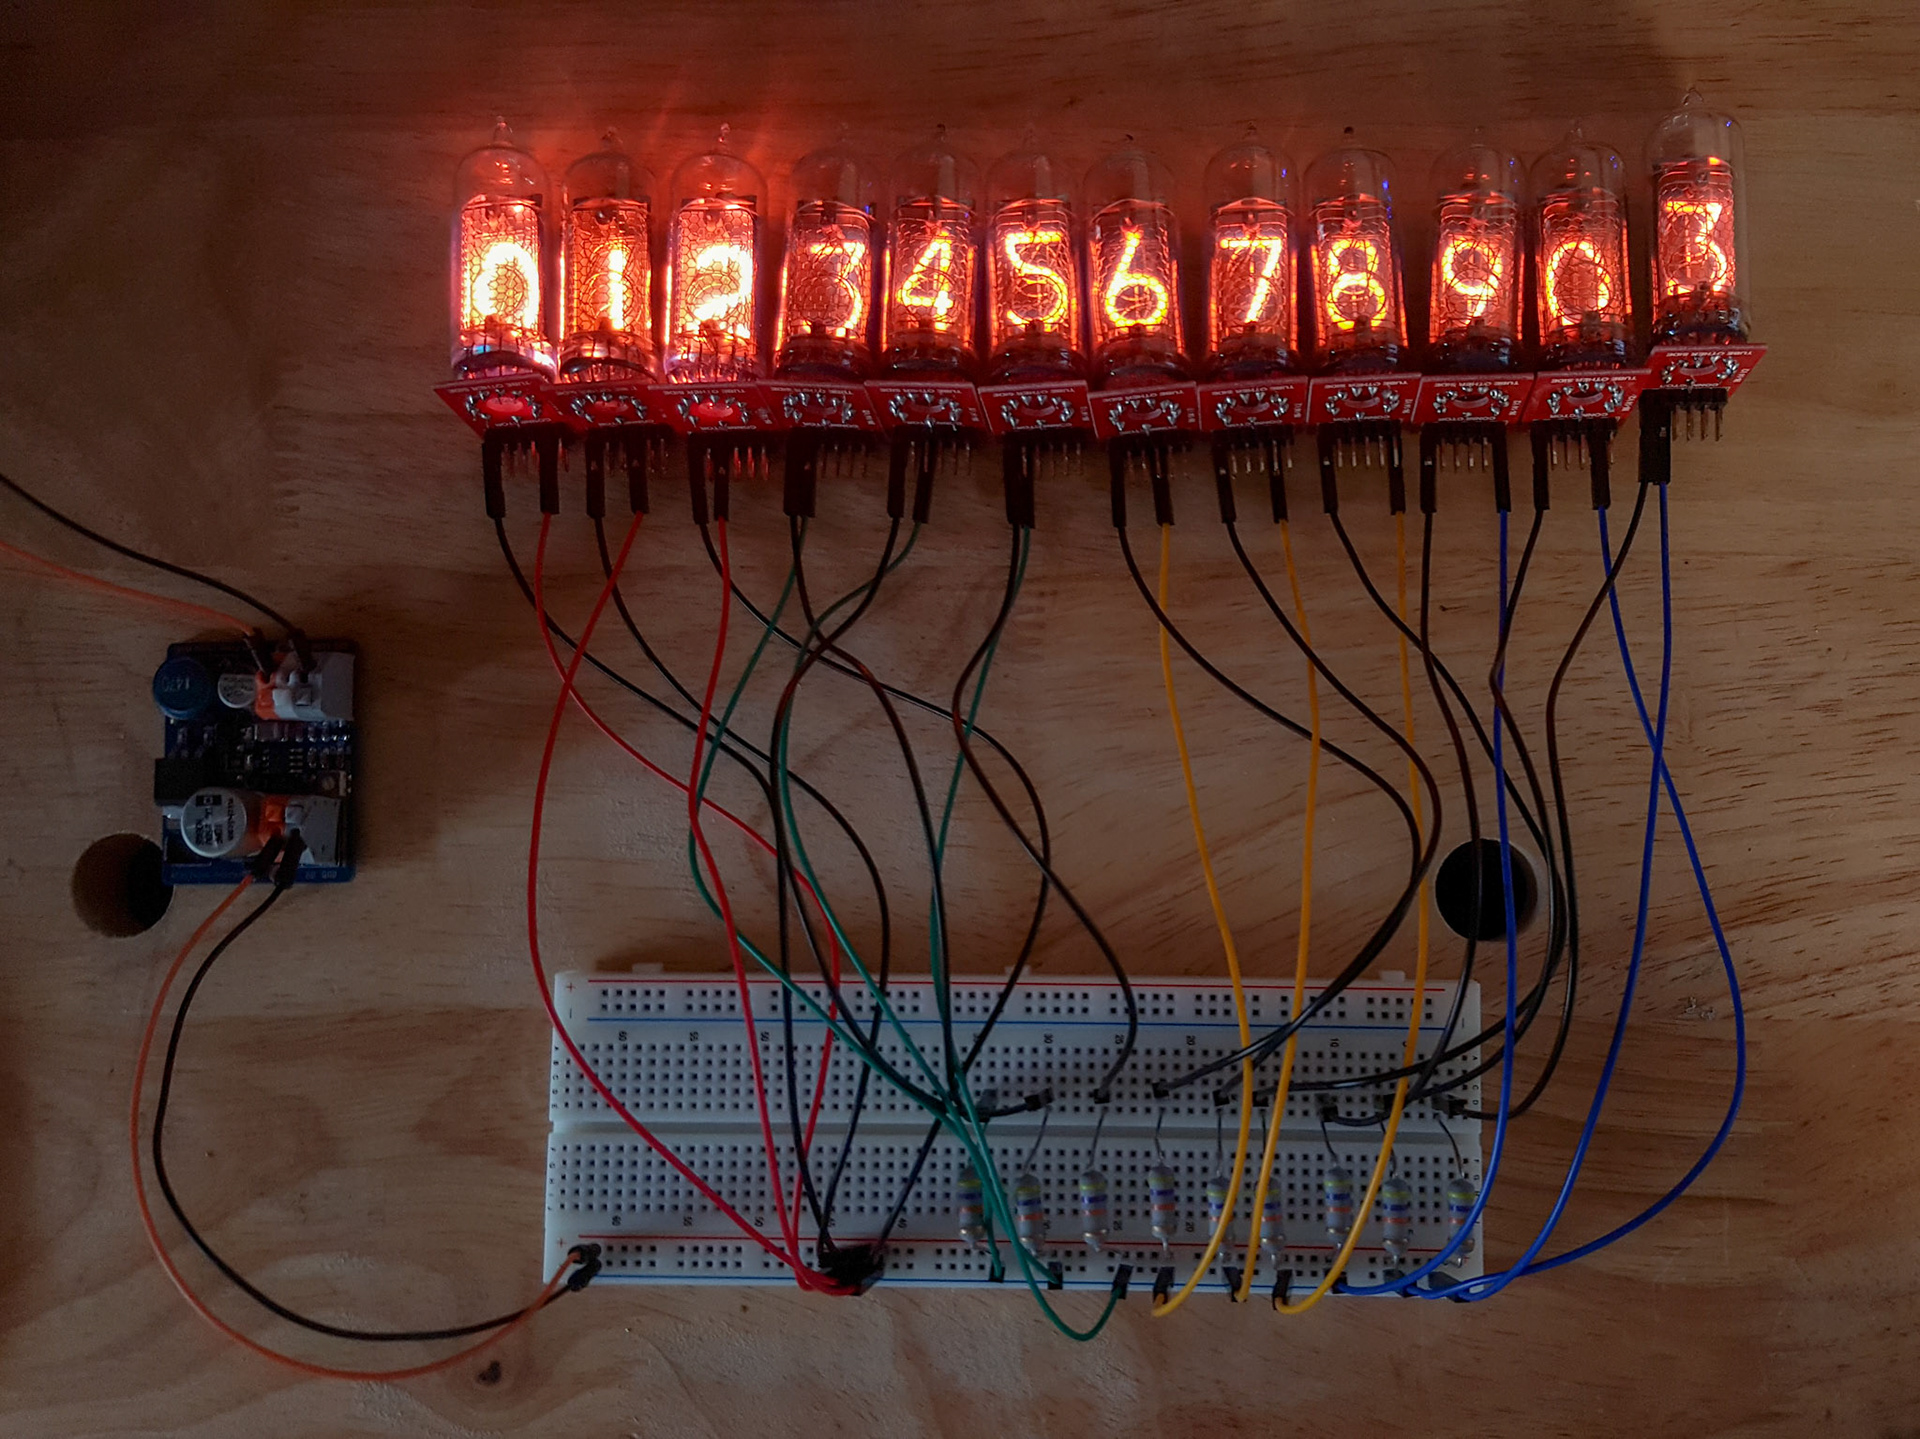
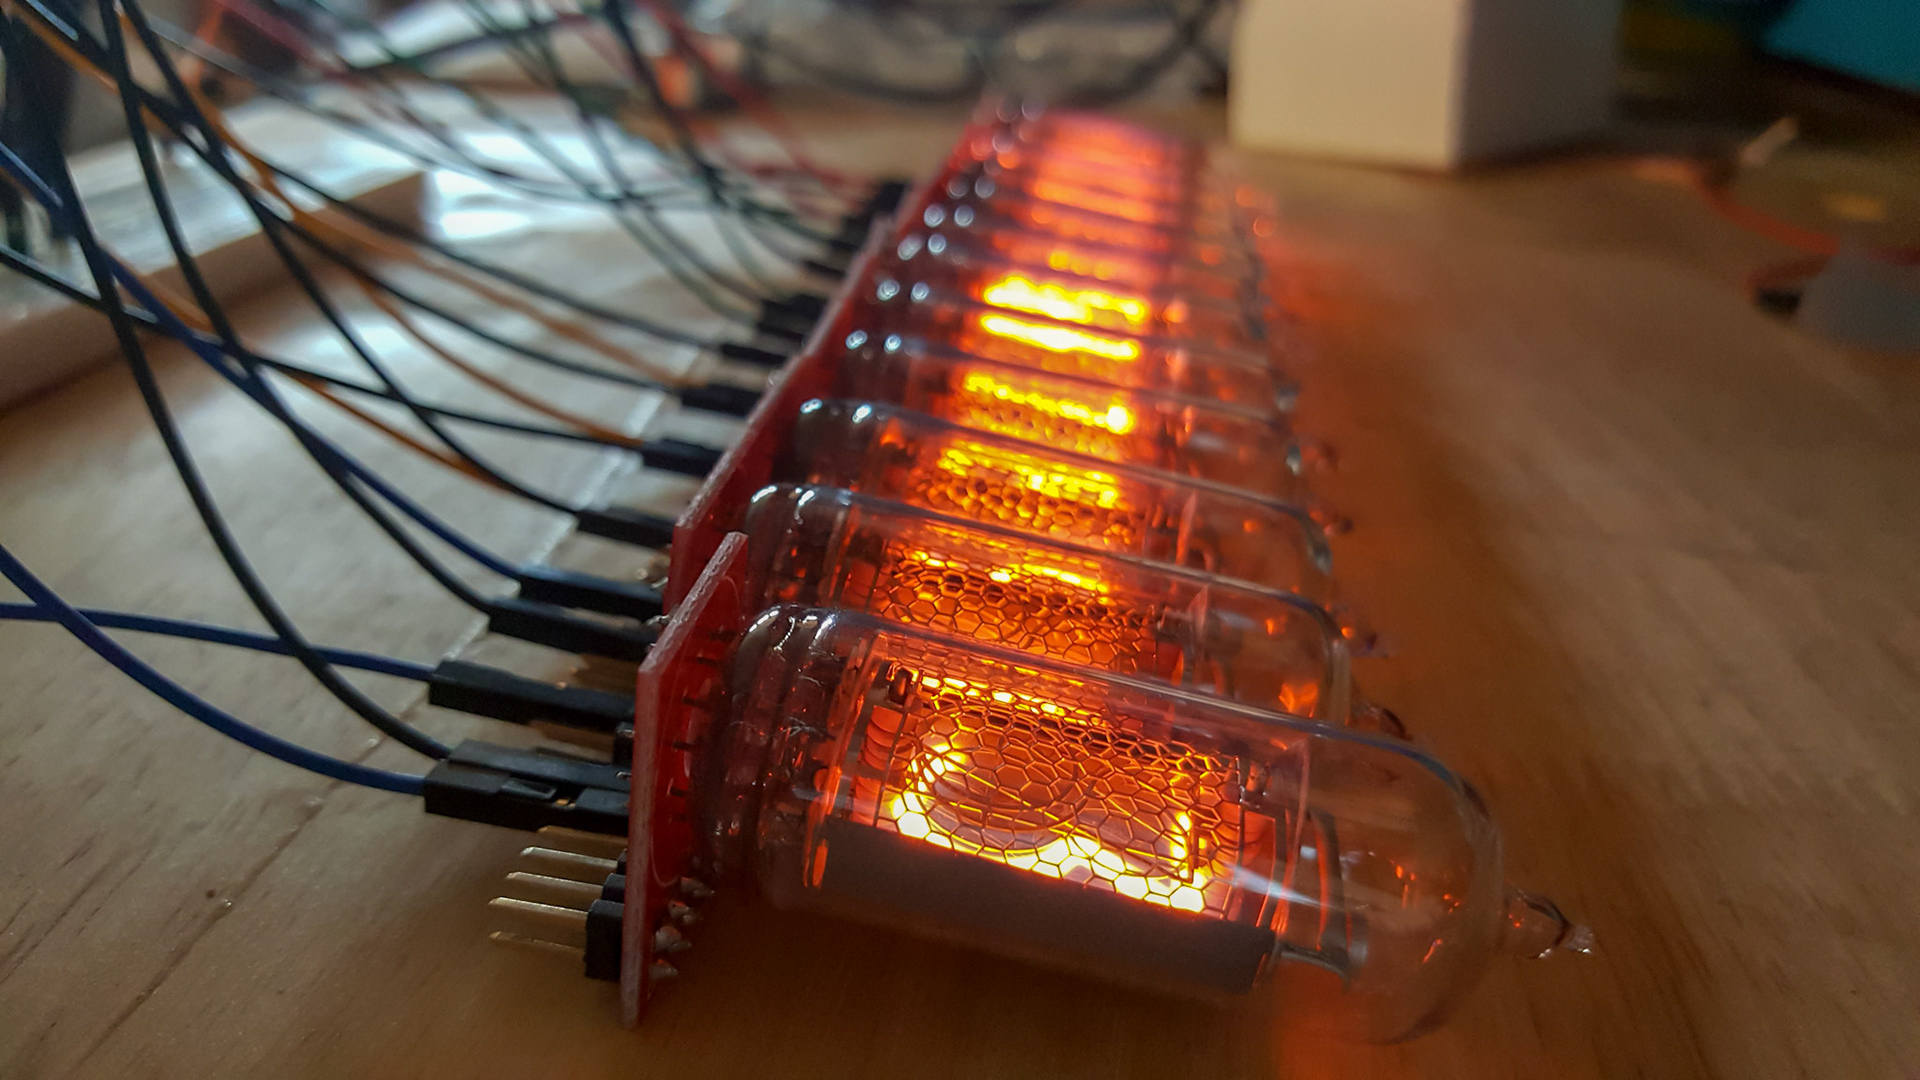

Next, I must figure how a way to control the tubes so that the digits change according to the time. First off, I needed an IC to change the digit of each tube which can handle the high voltage that the tubes operate at. I went the most straight forward route and ordered an IC for each tube which is six in total. Following the ICs which drove the tubes I needed way of controlling each IC so that I can instruct it which number to display. I chose to use shift registers and an Arduino Uno micro-controller. At this stage I wired all six of the tubes to a bread board and had it laid out.


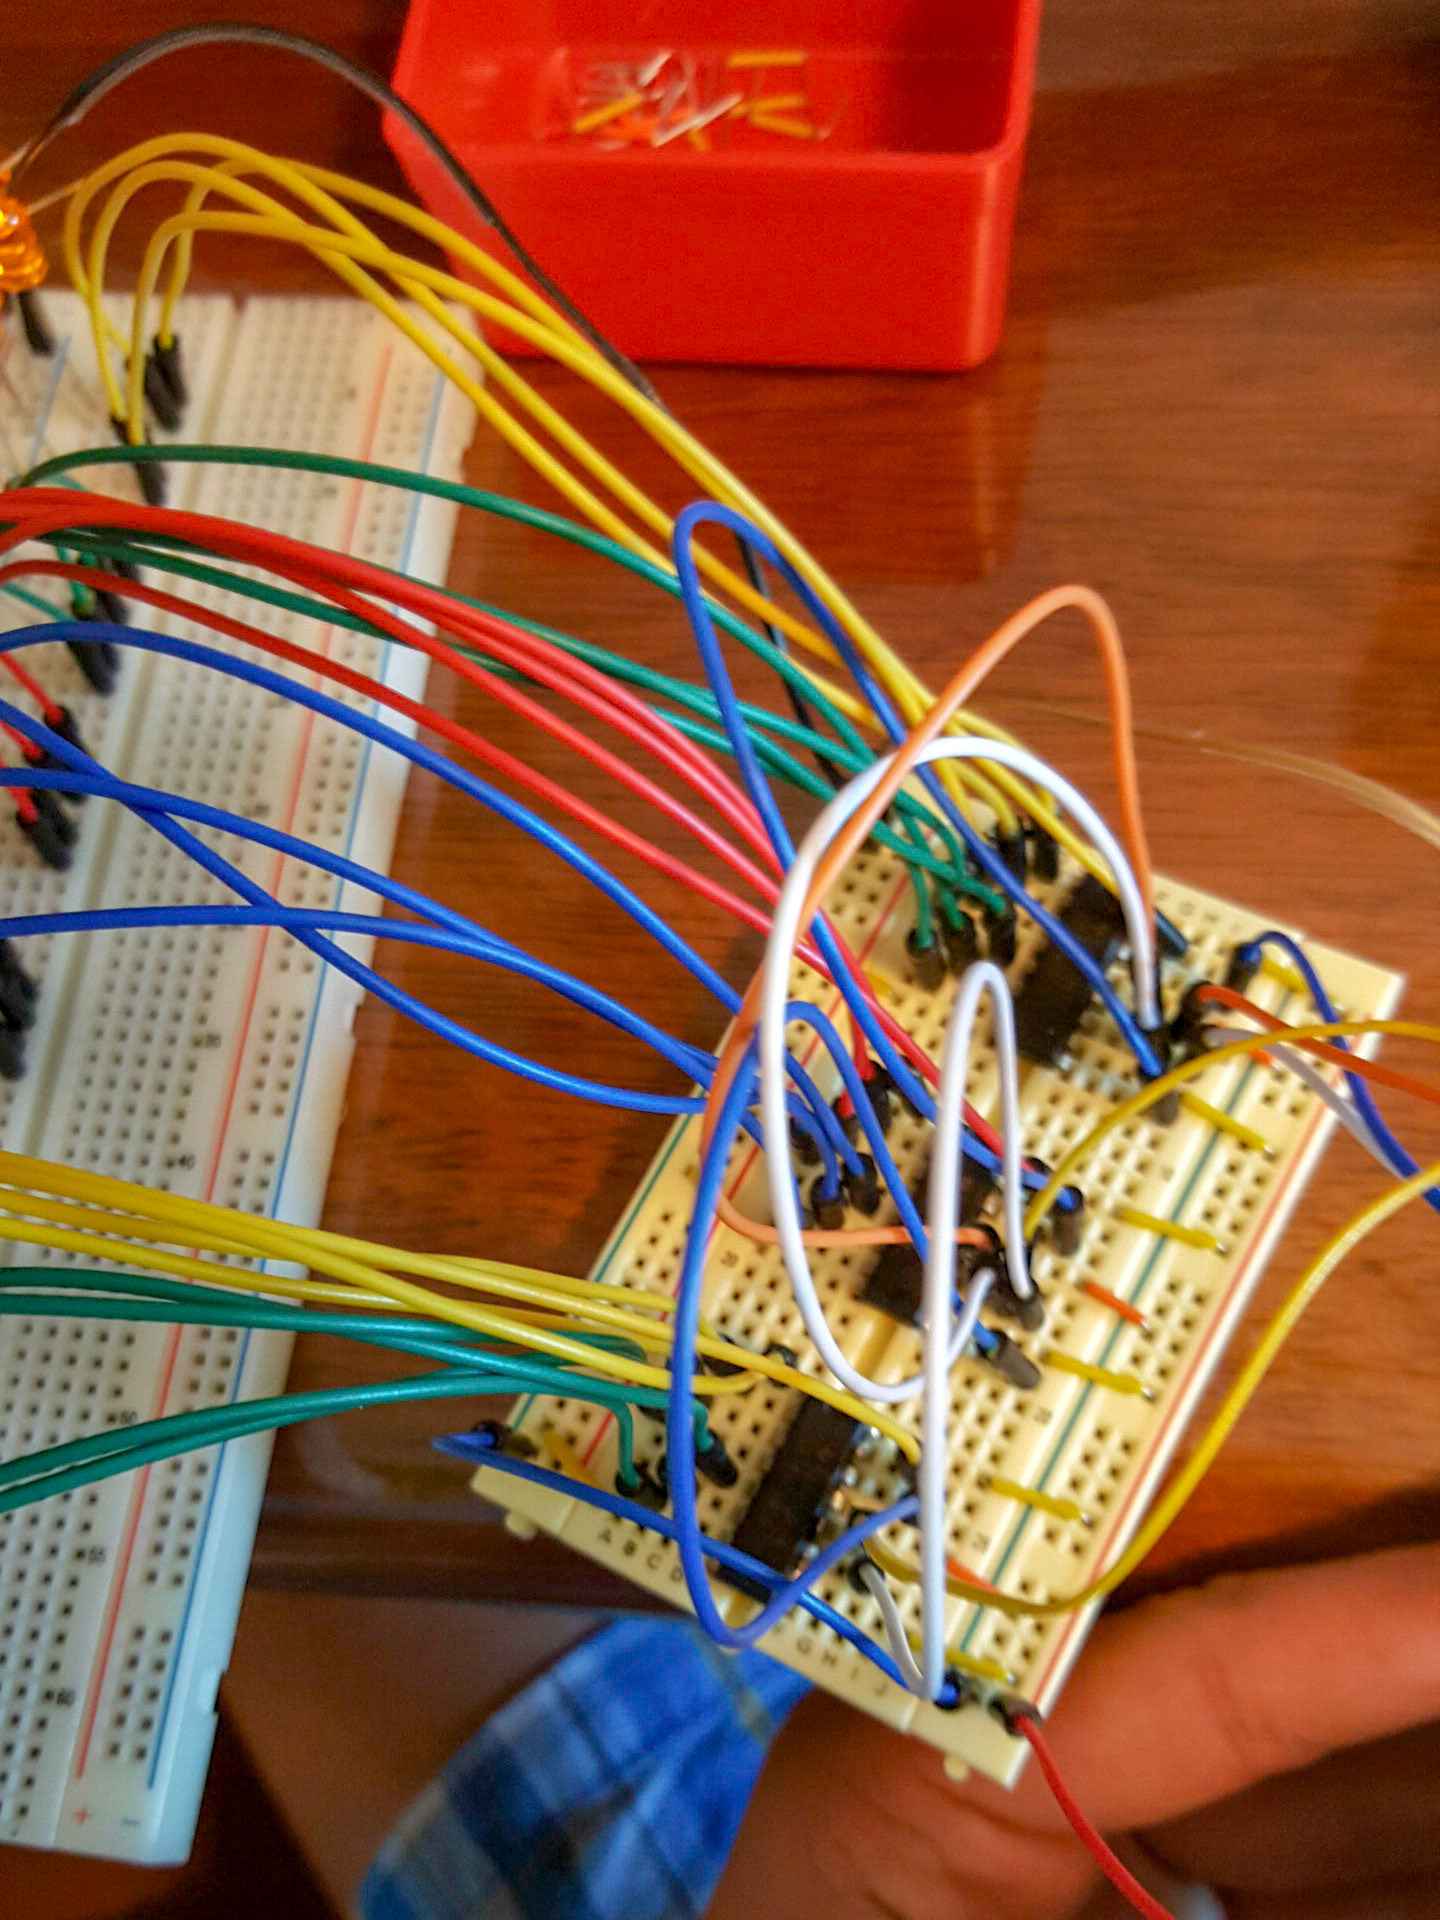
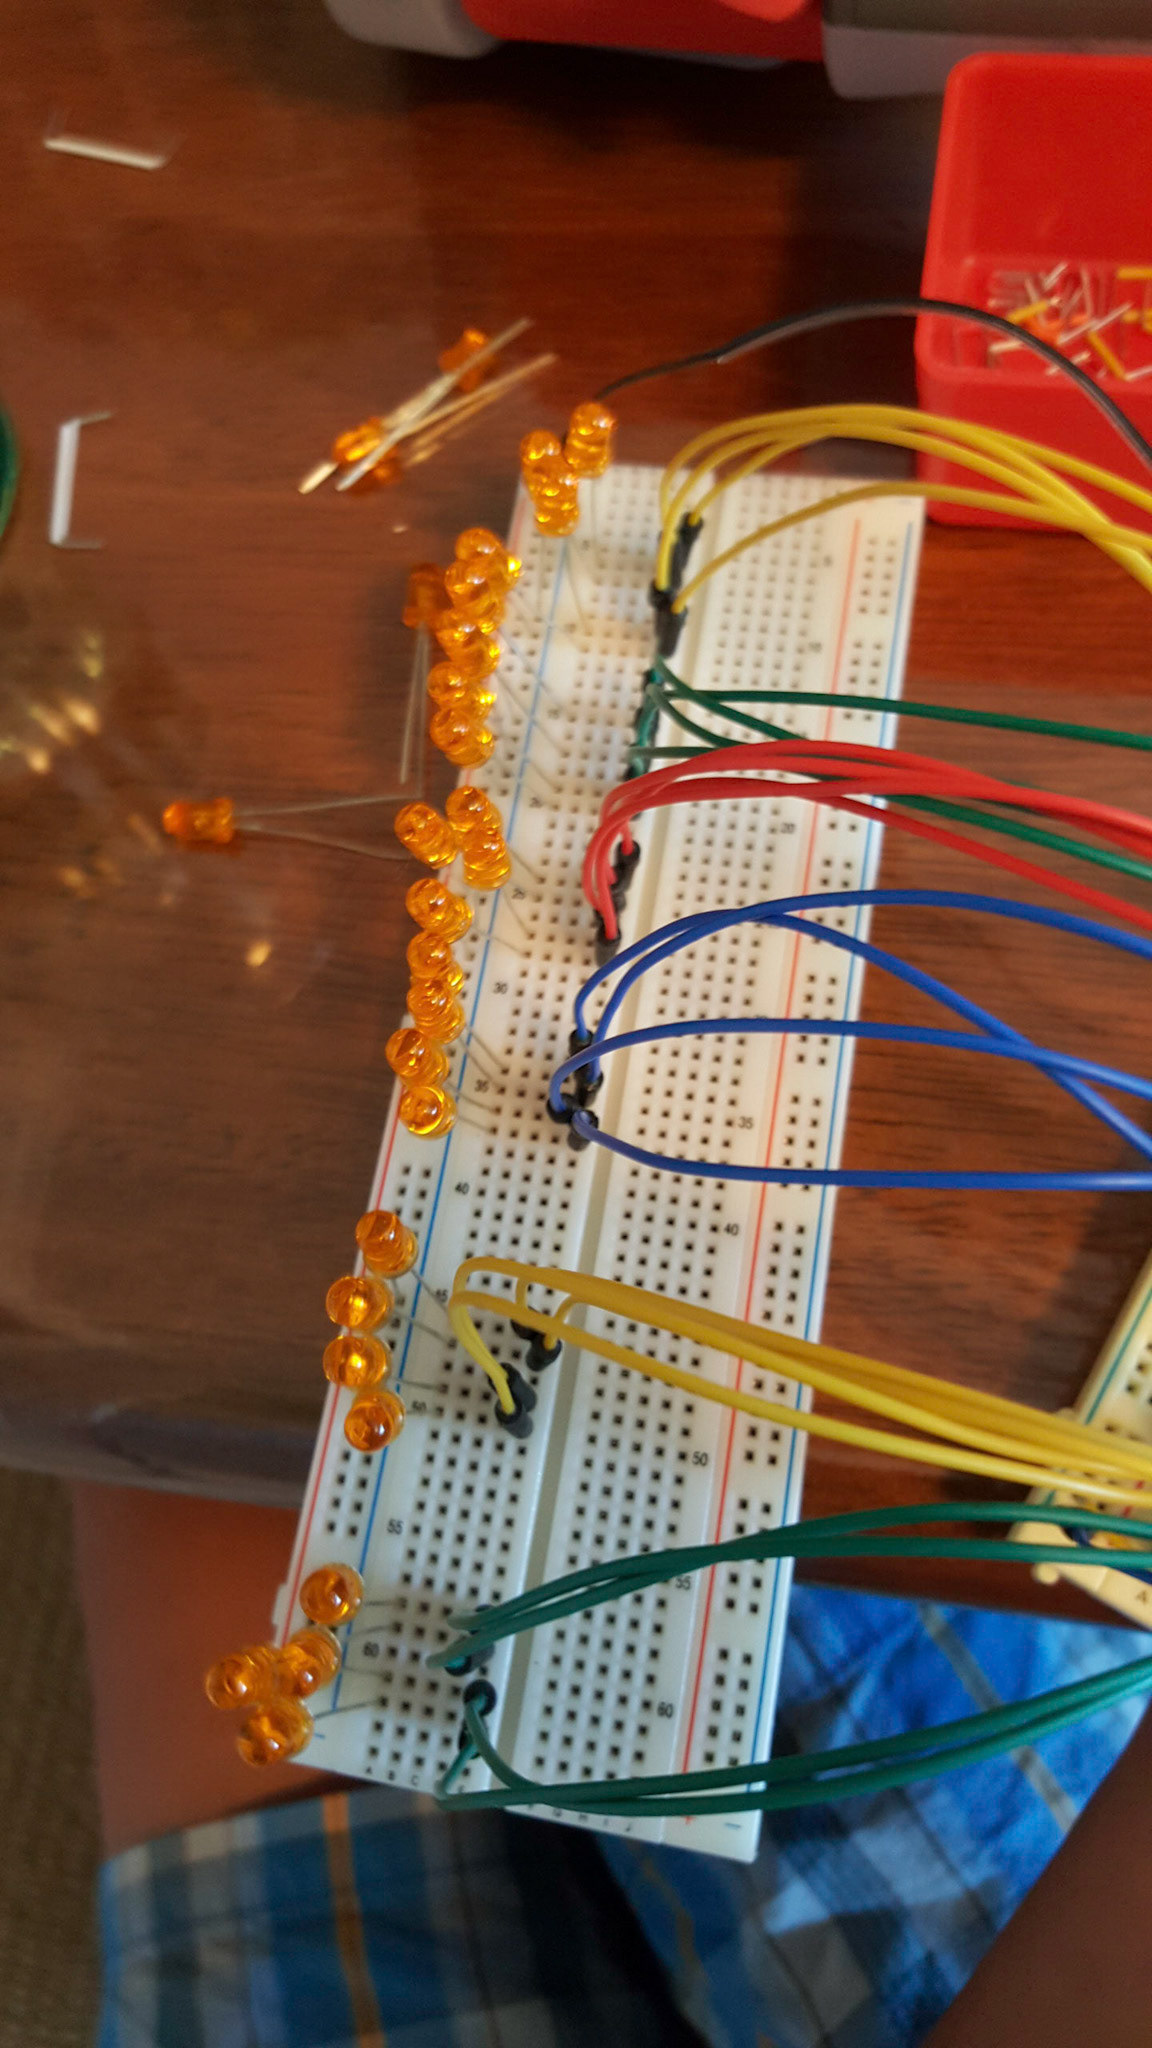

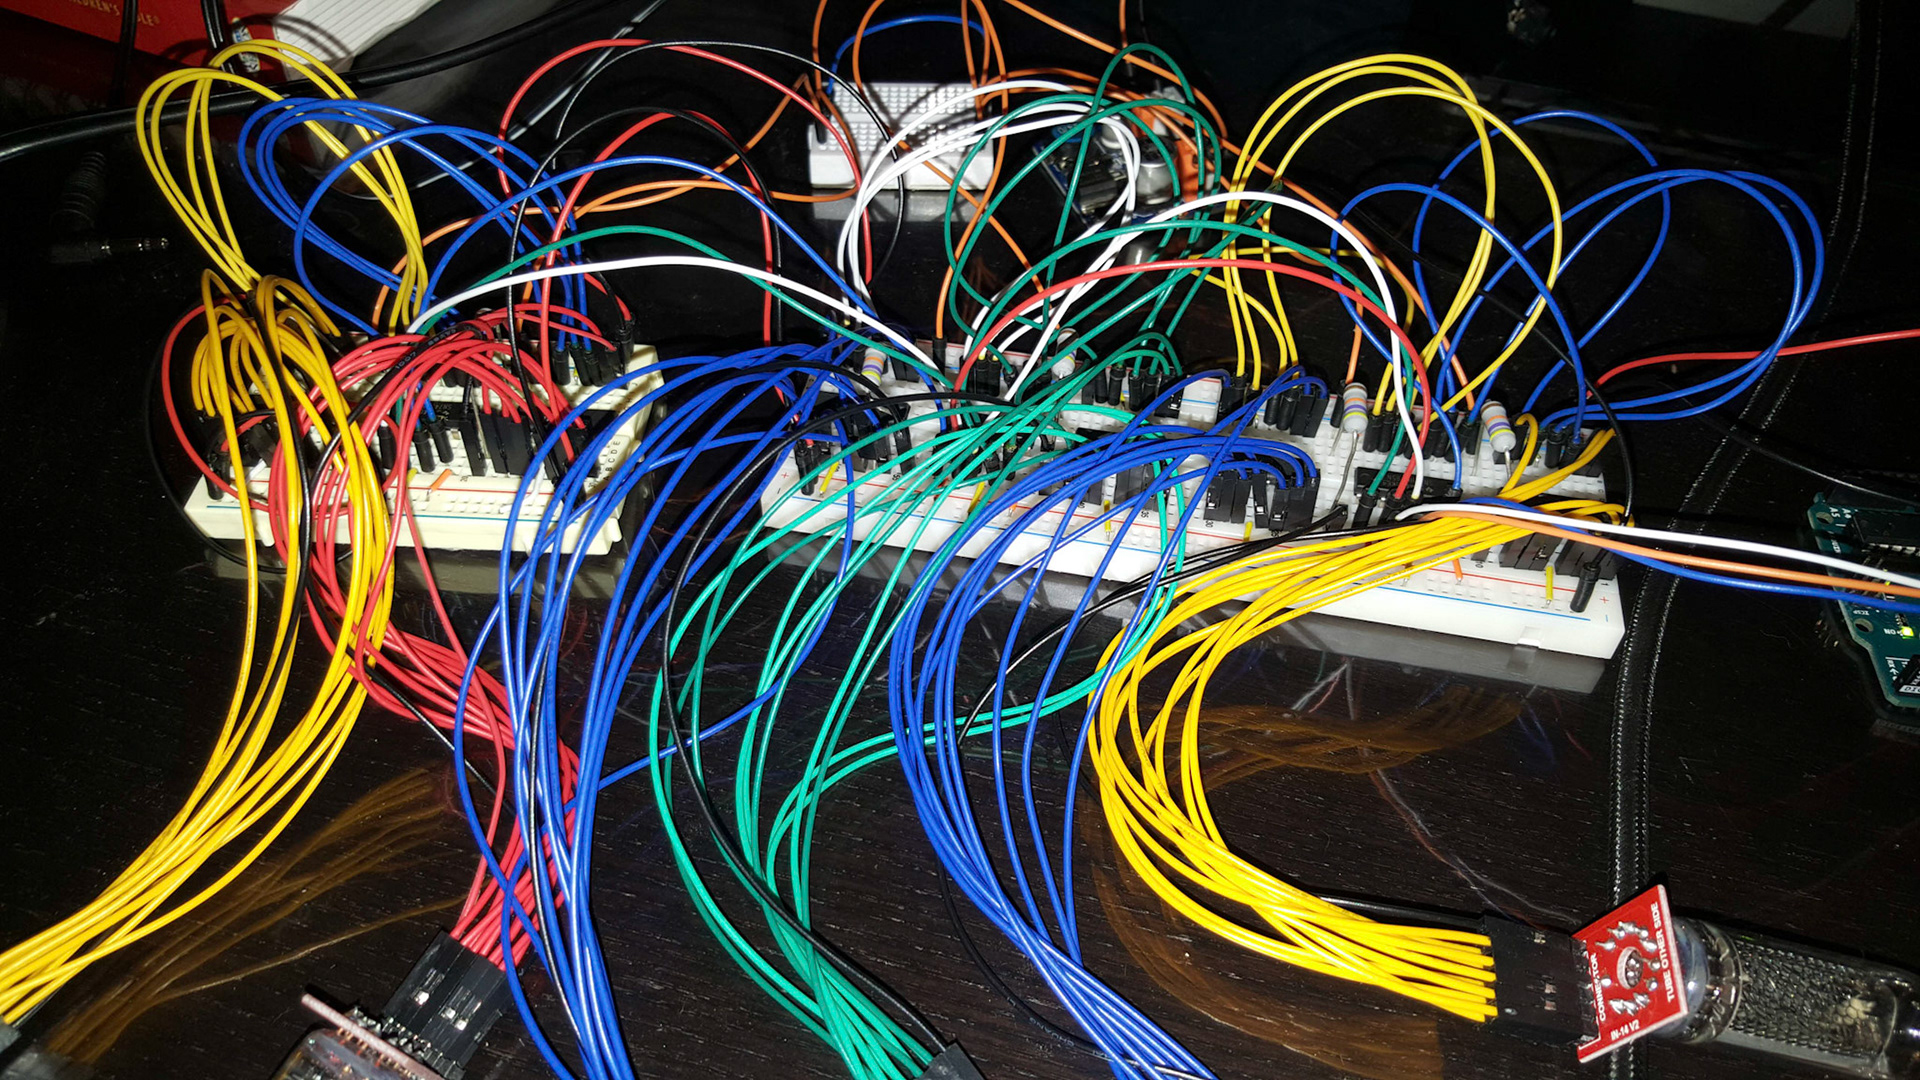
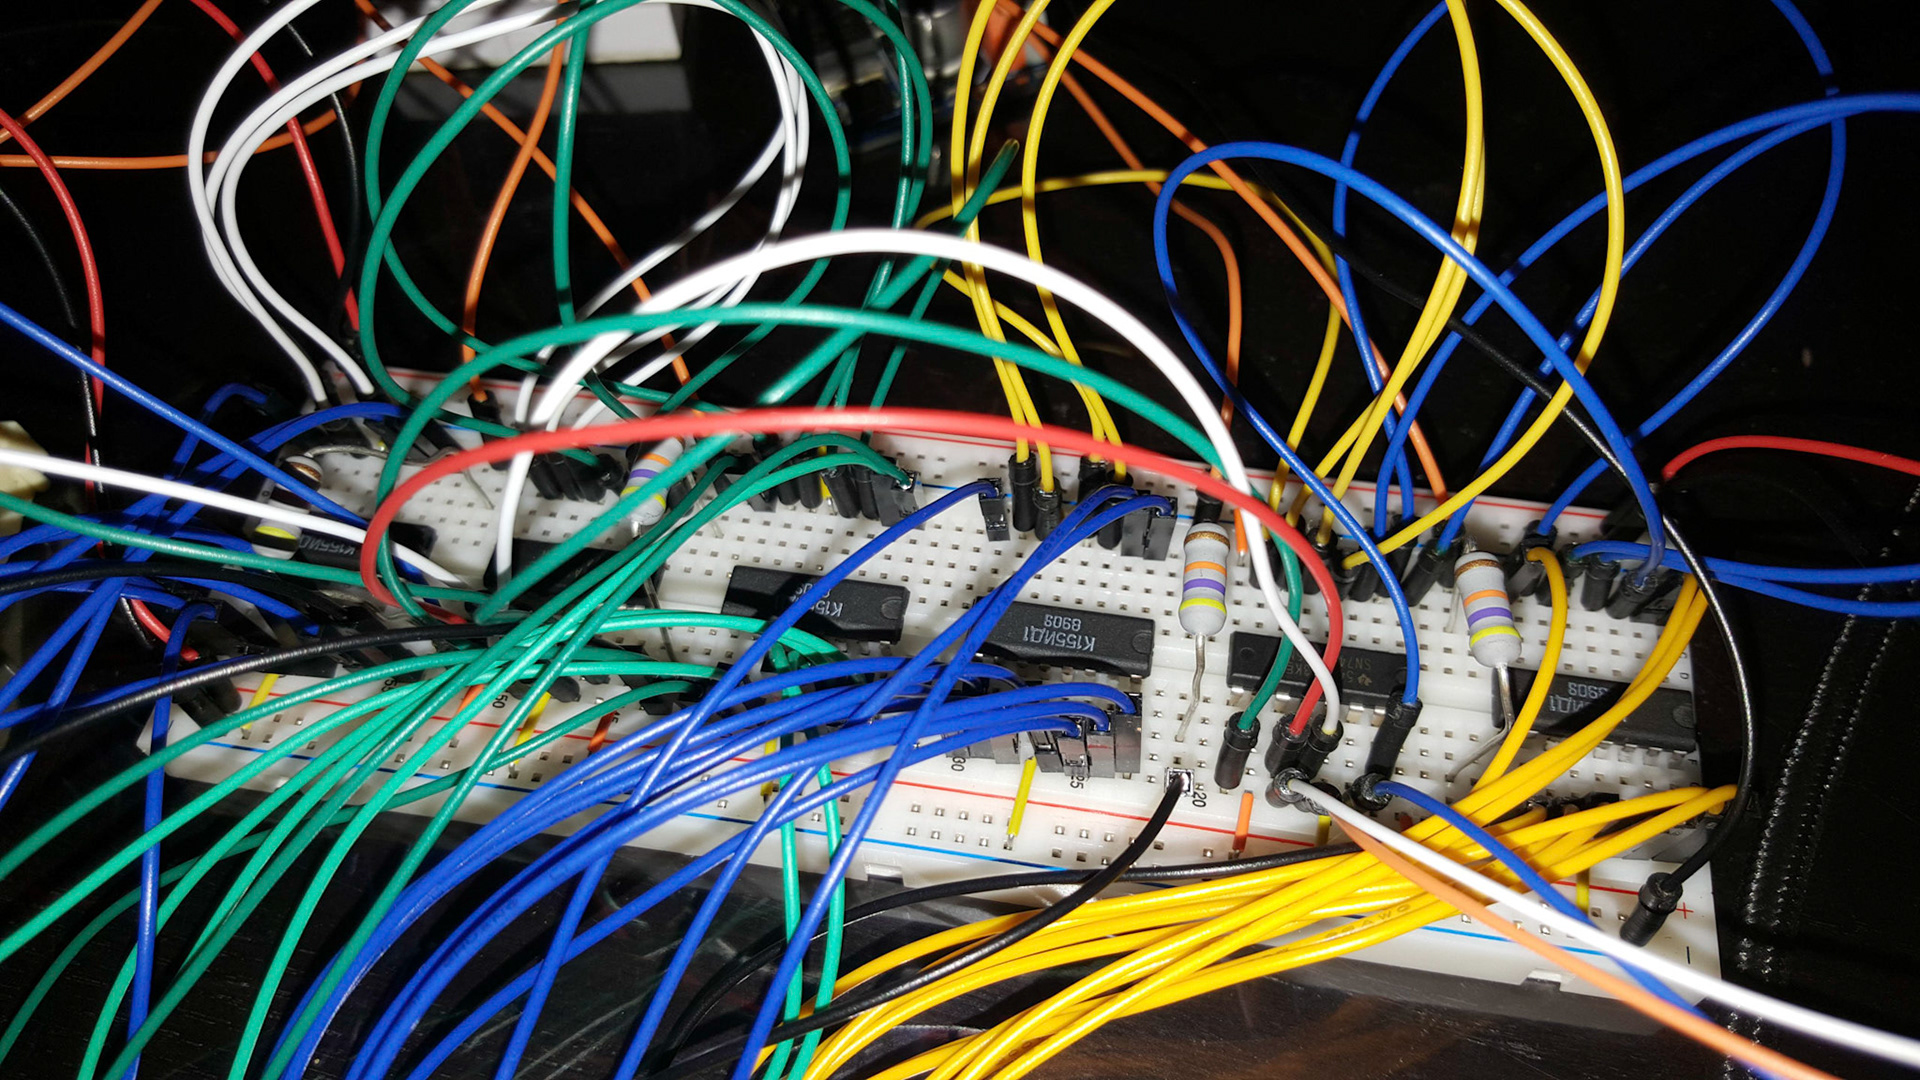
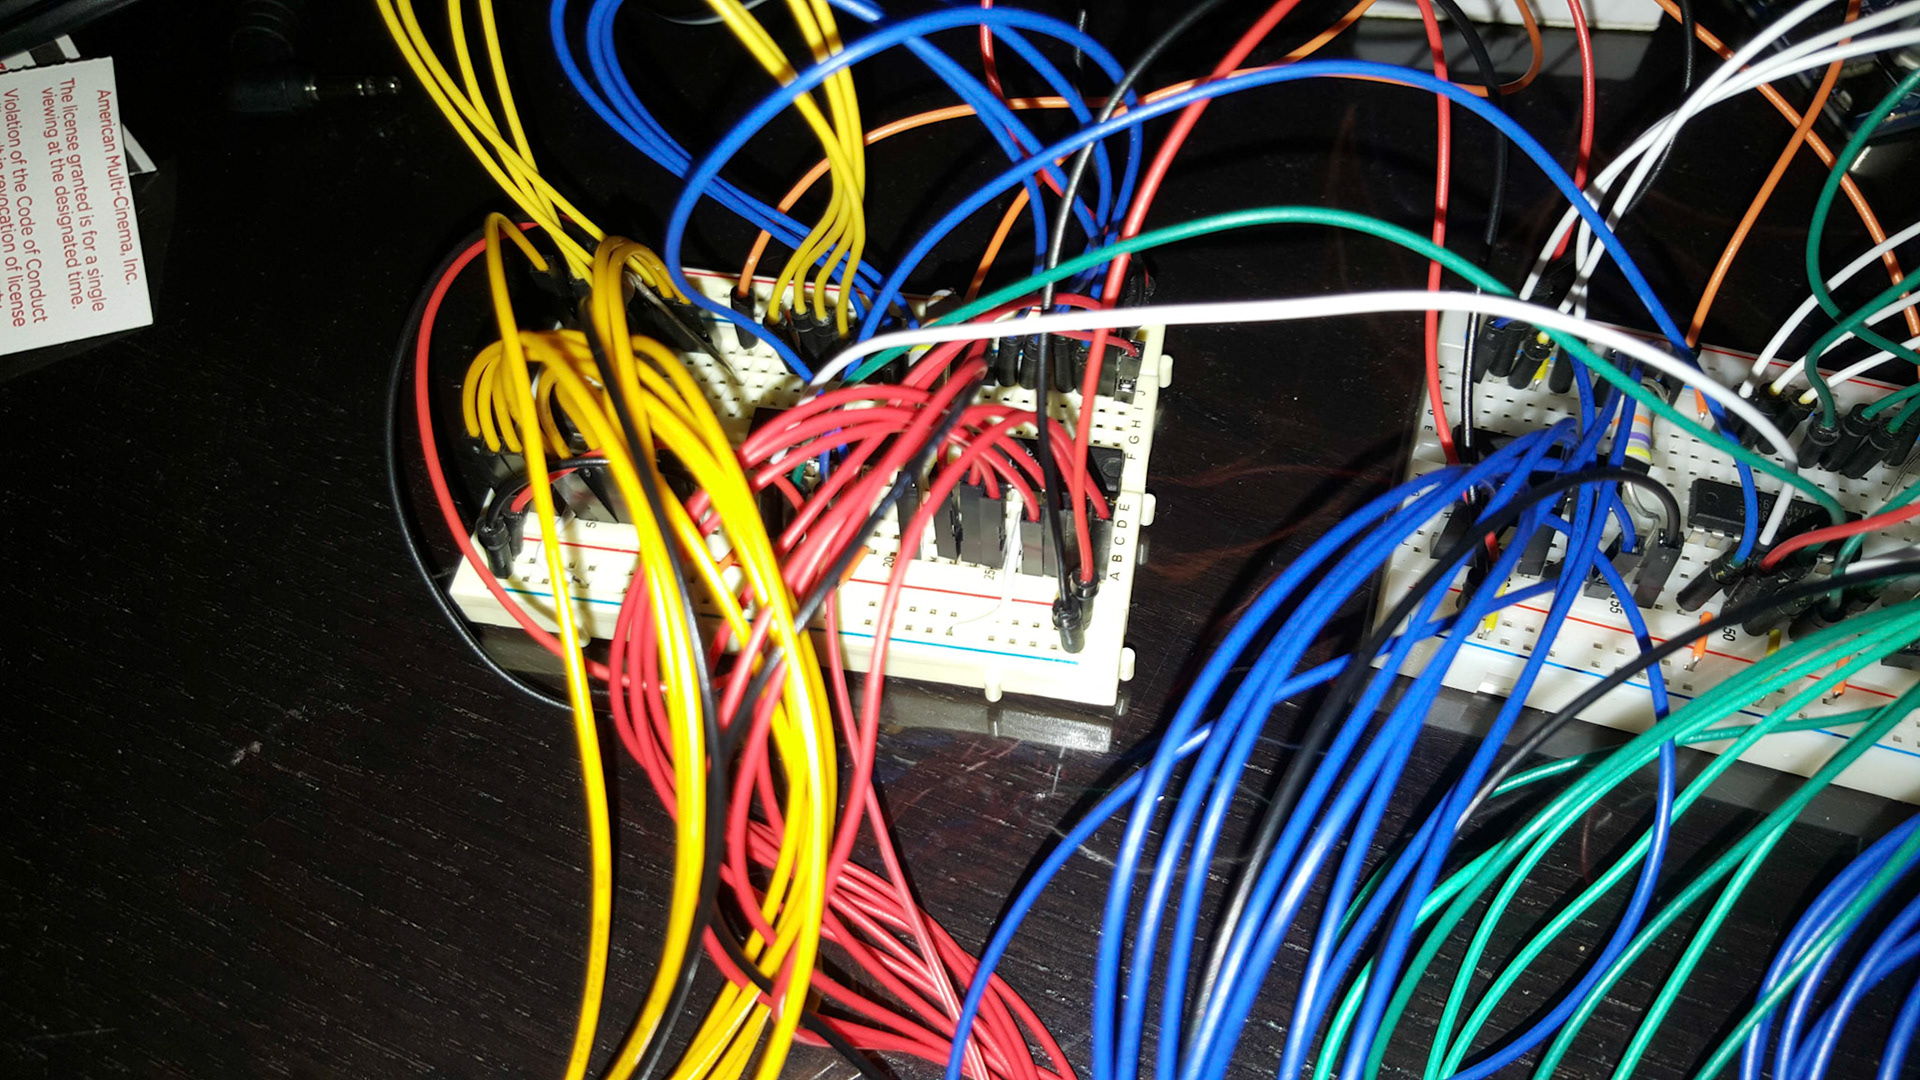
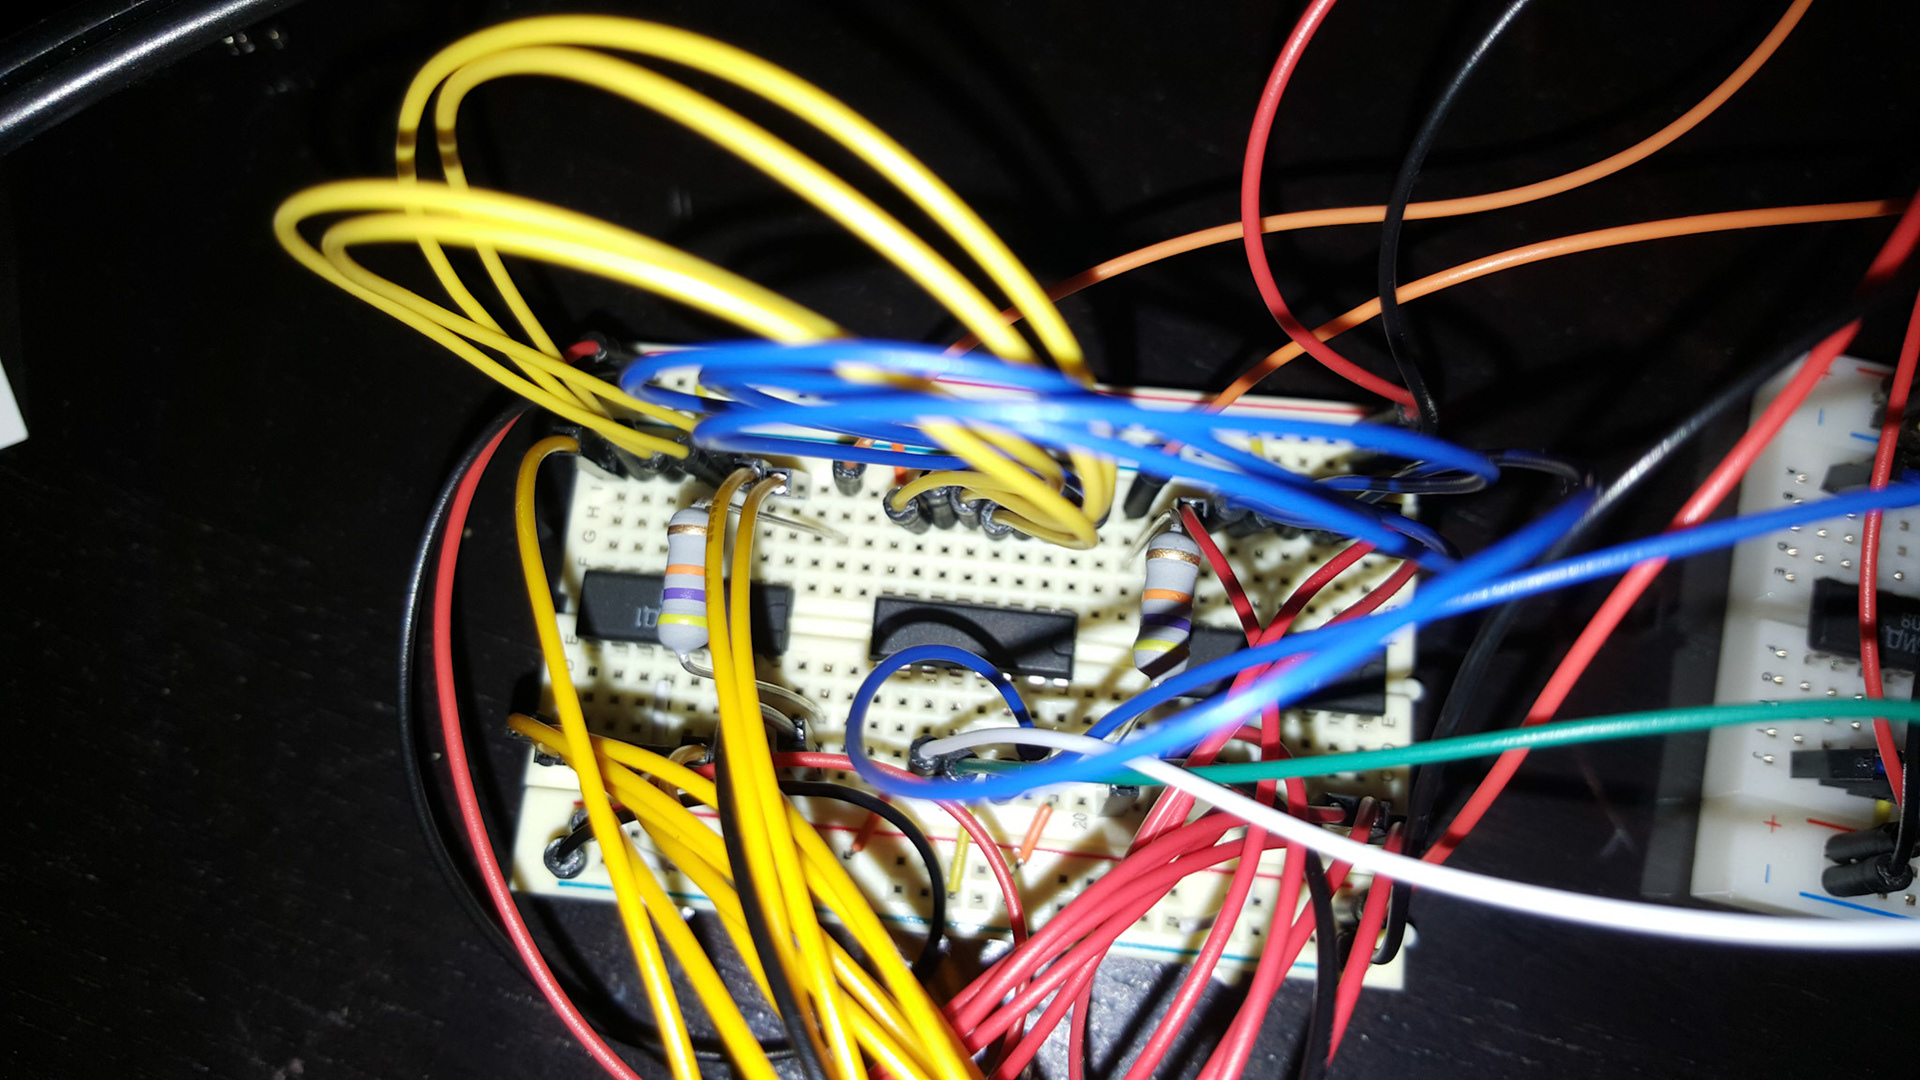
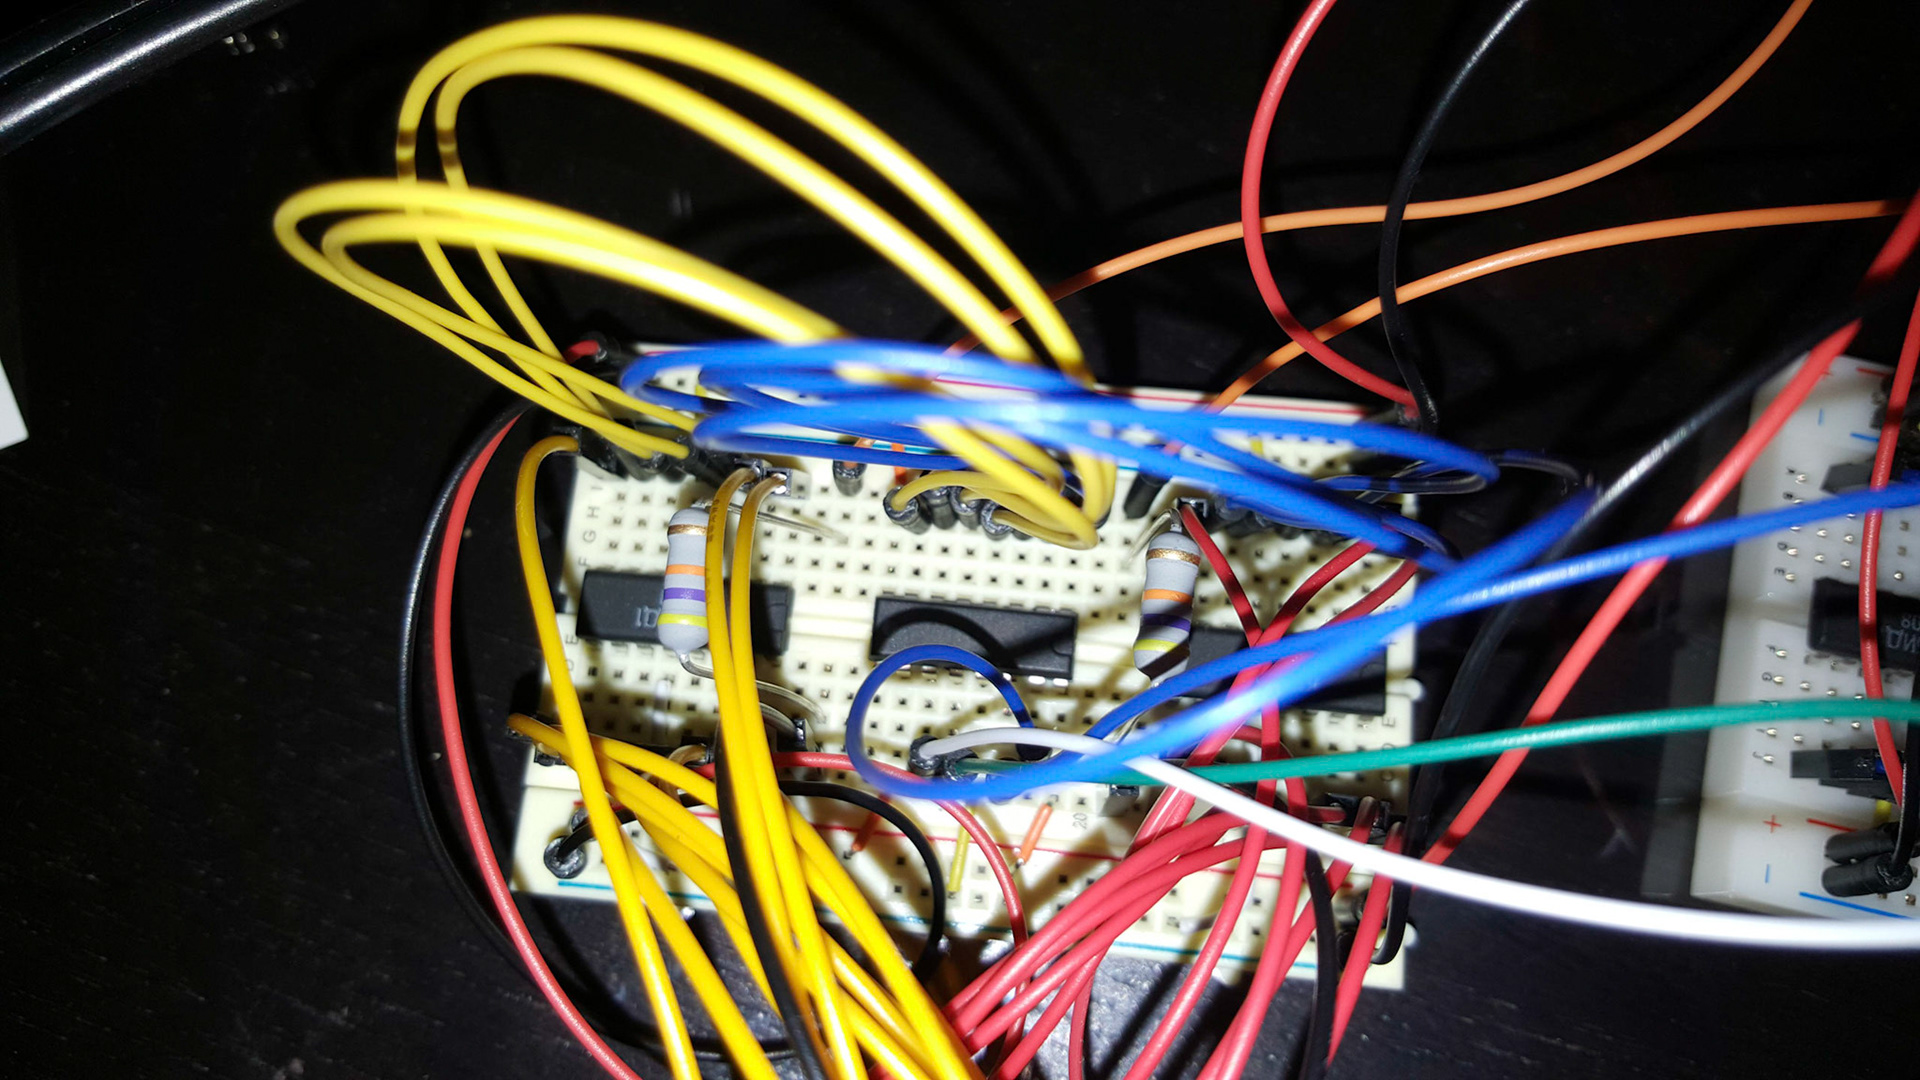
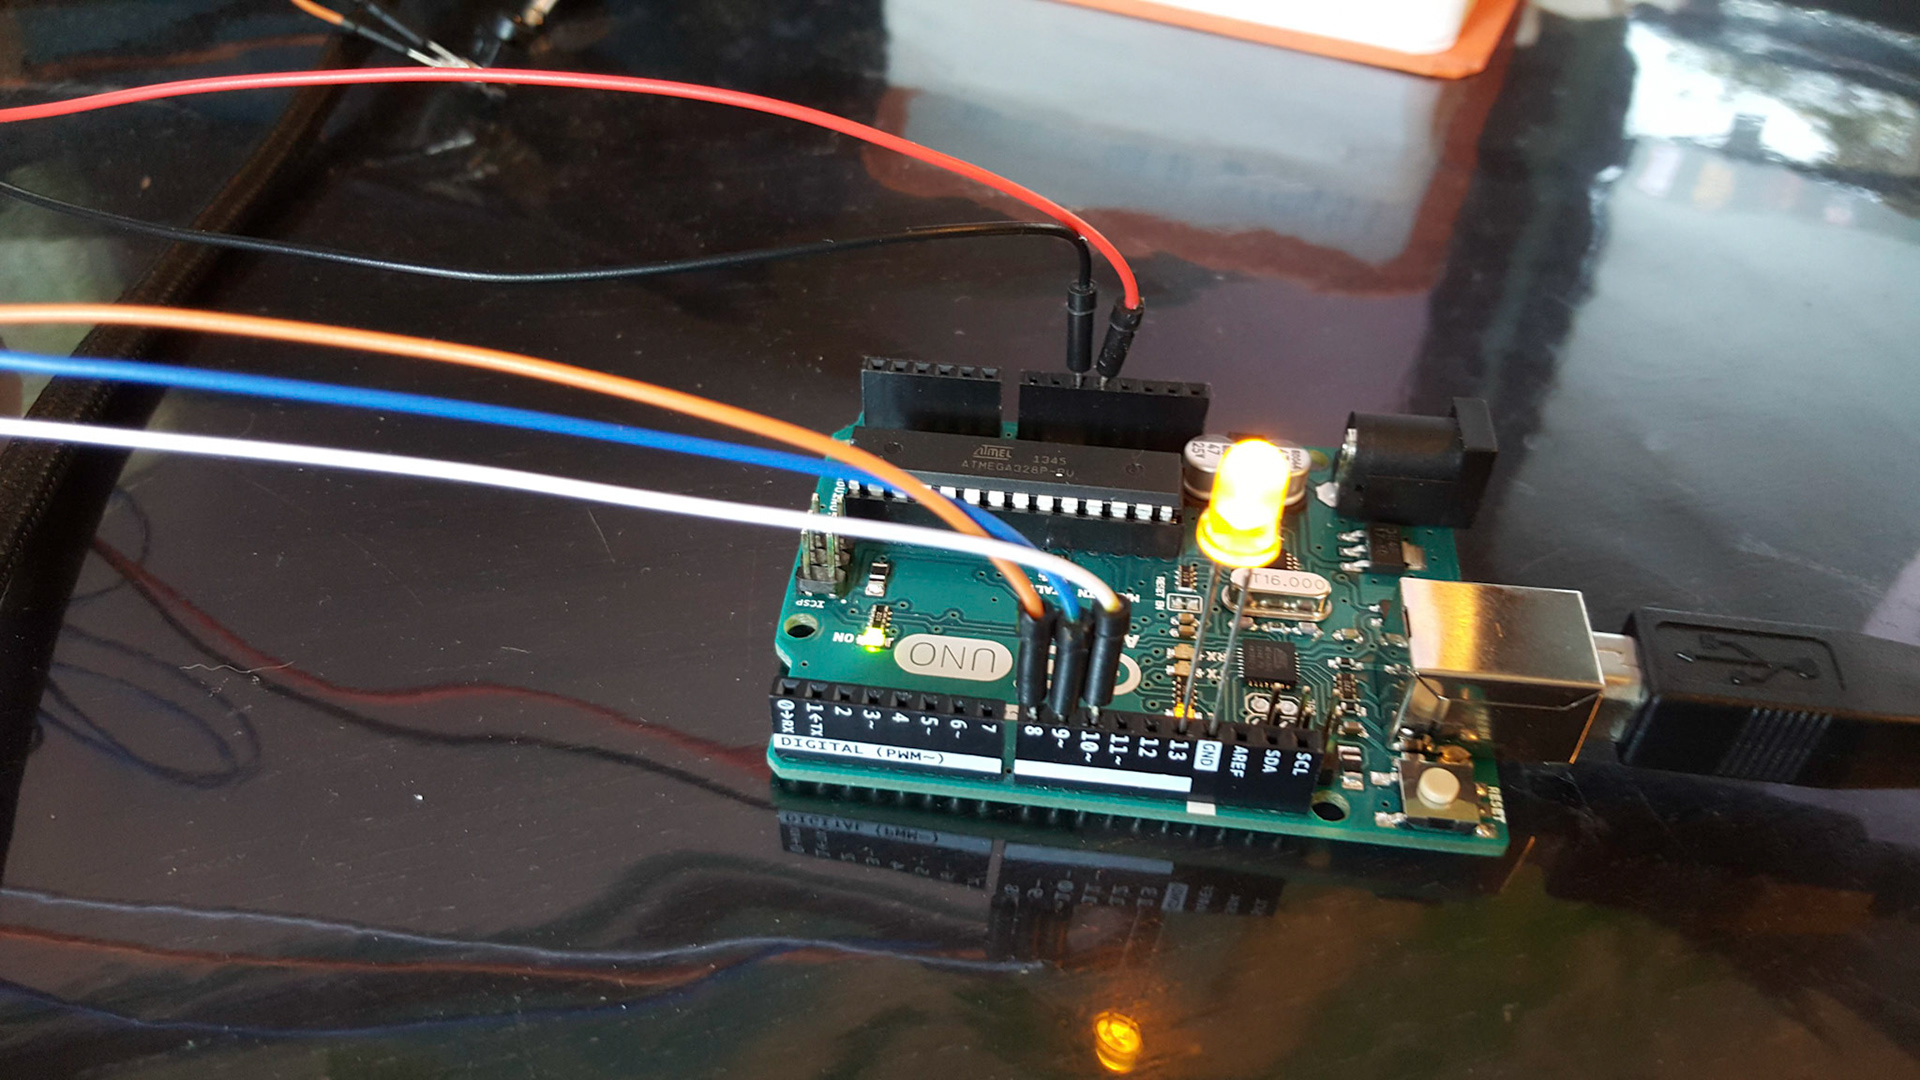
As seen in the videos below, I was able to successfully control the tubes.
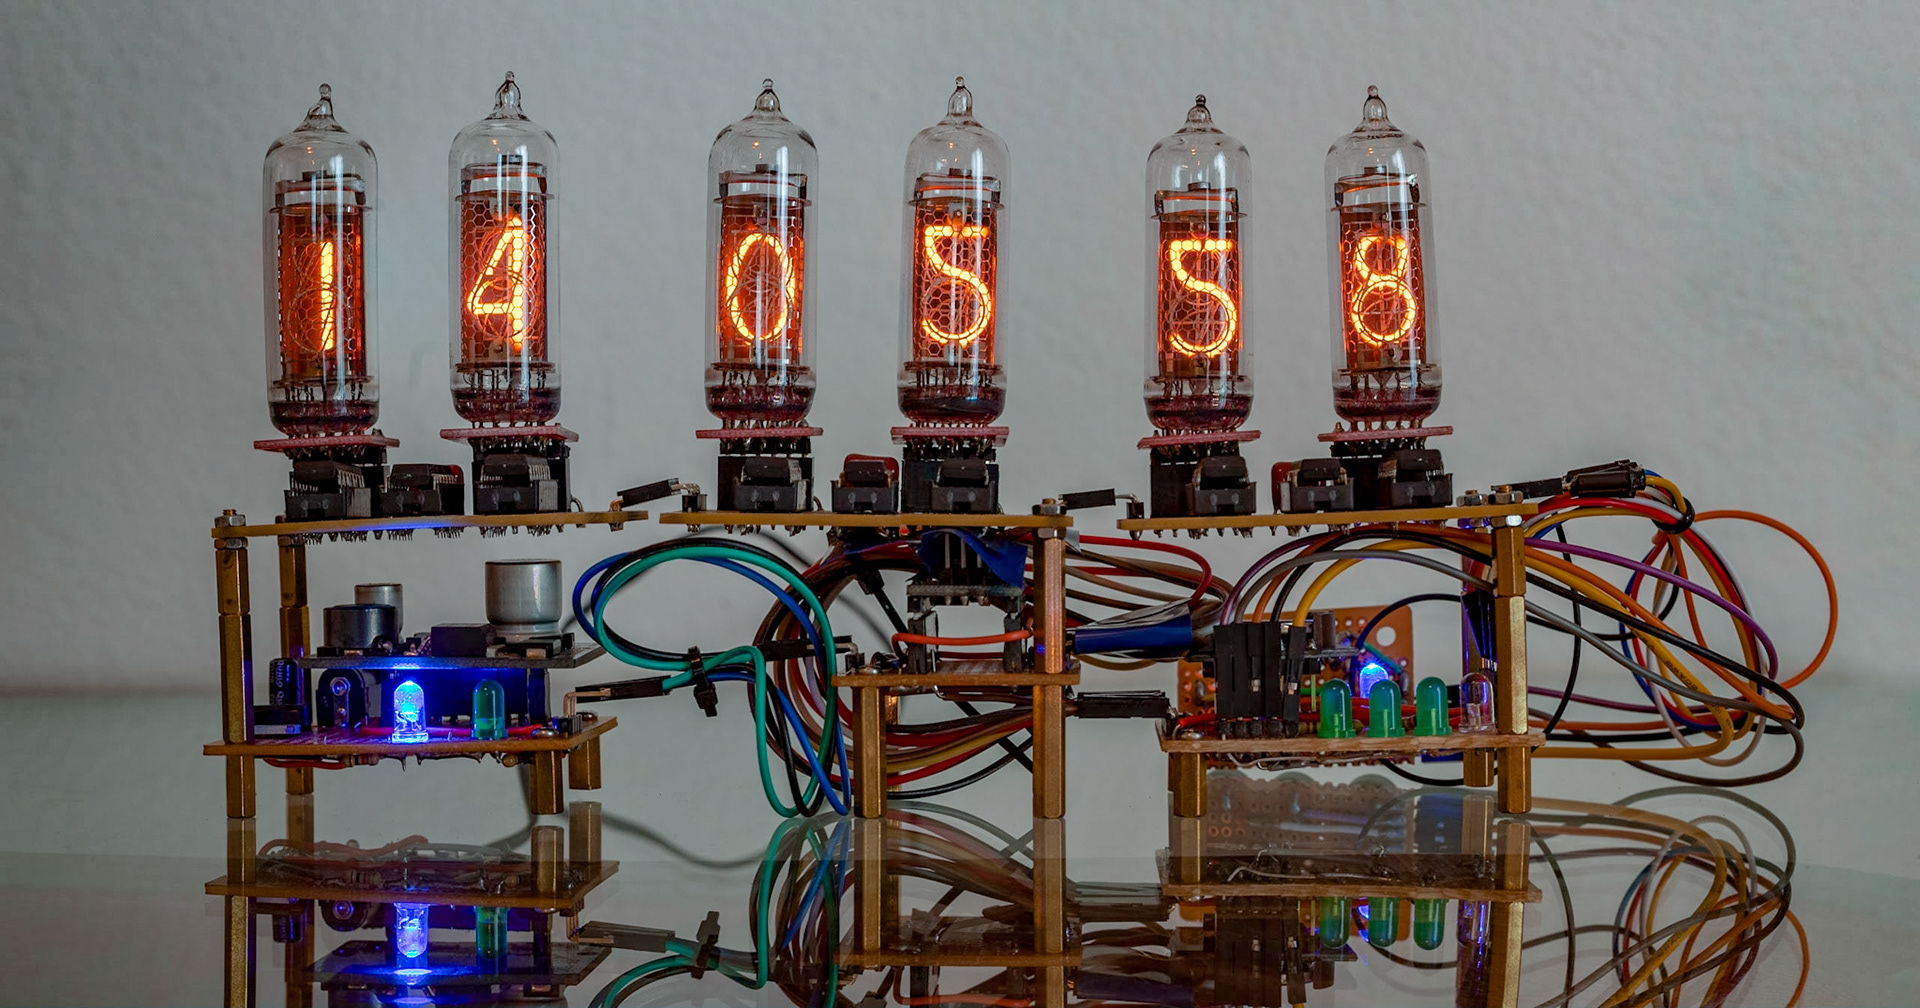
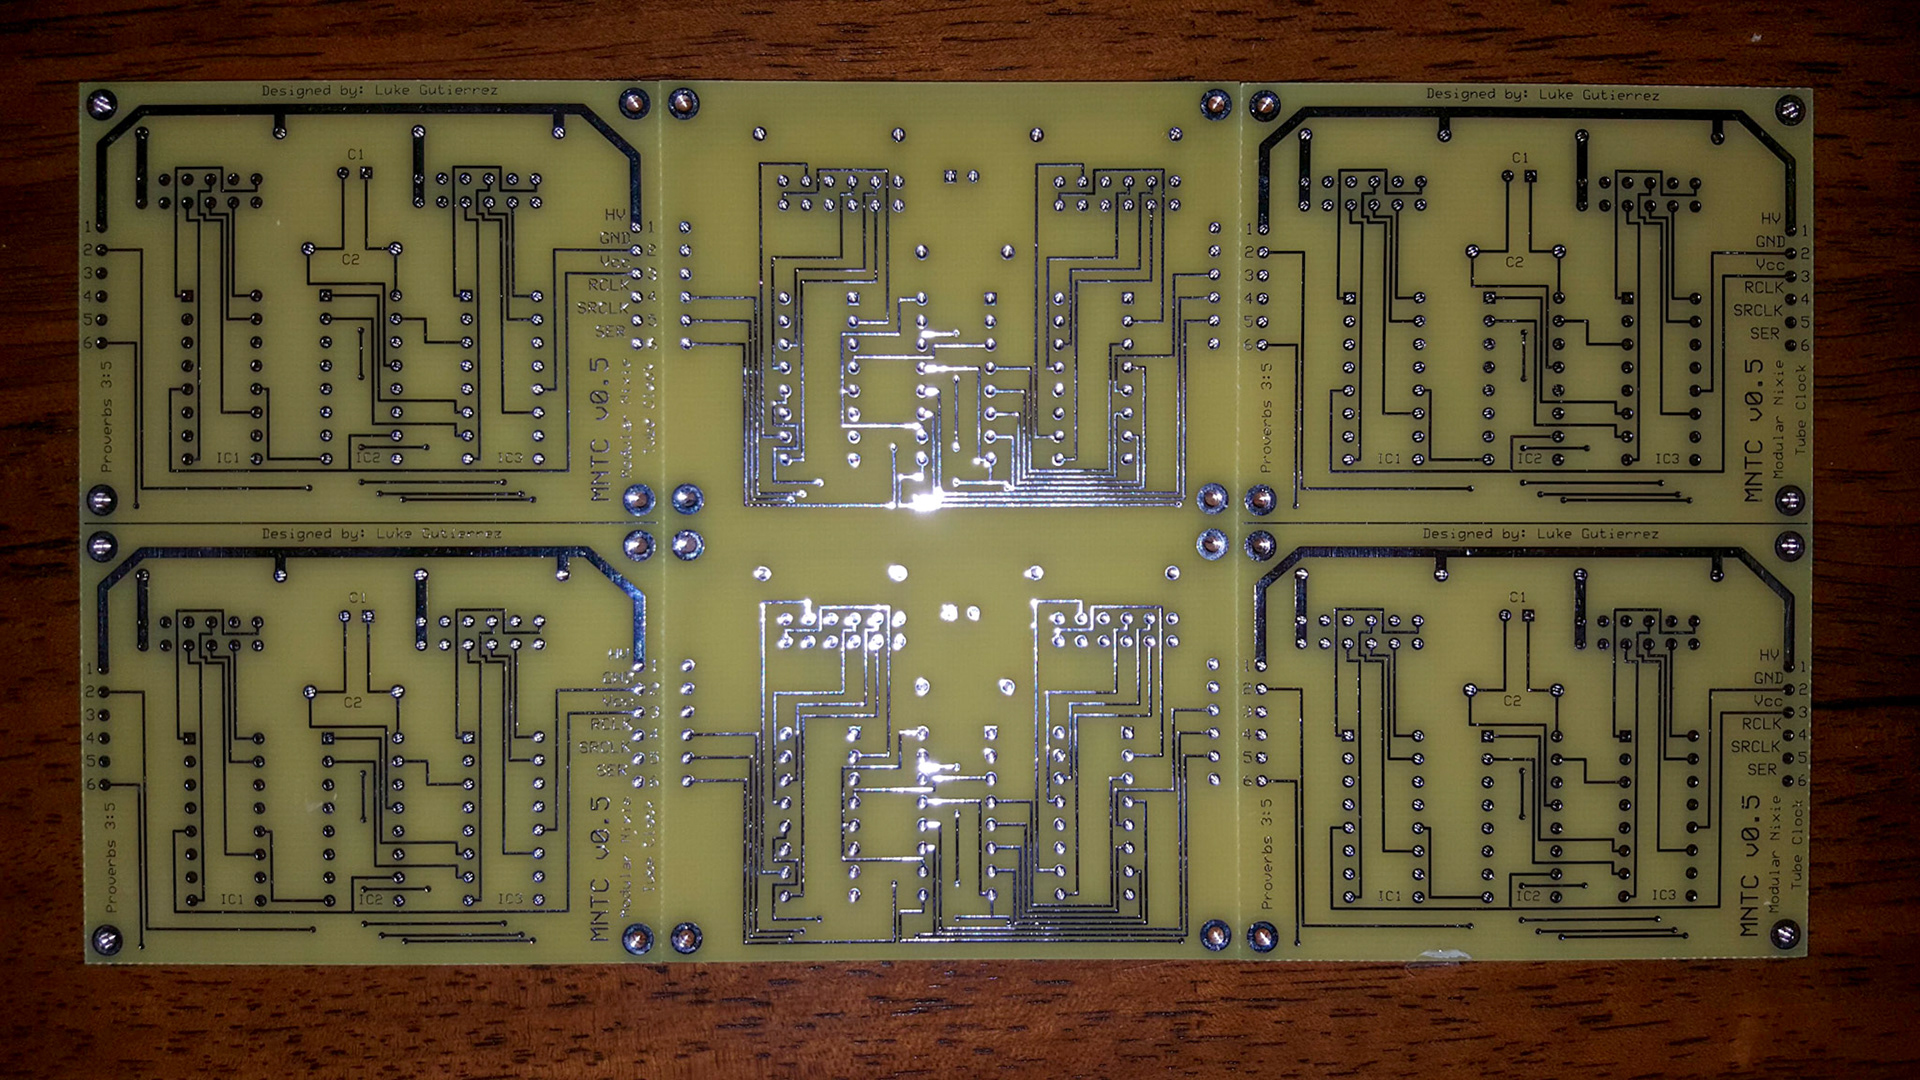
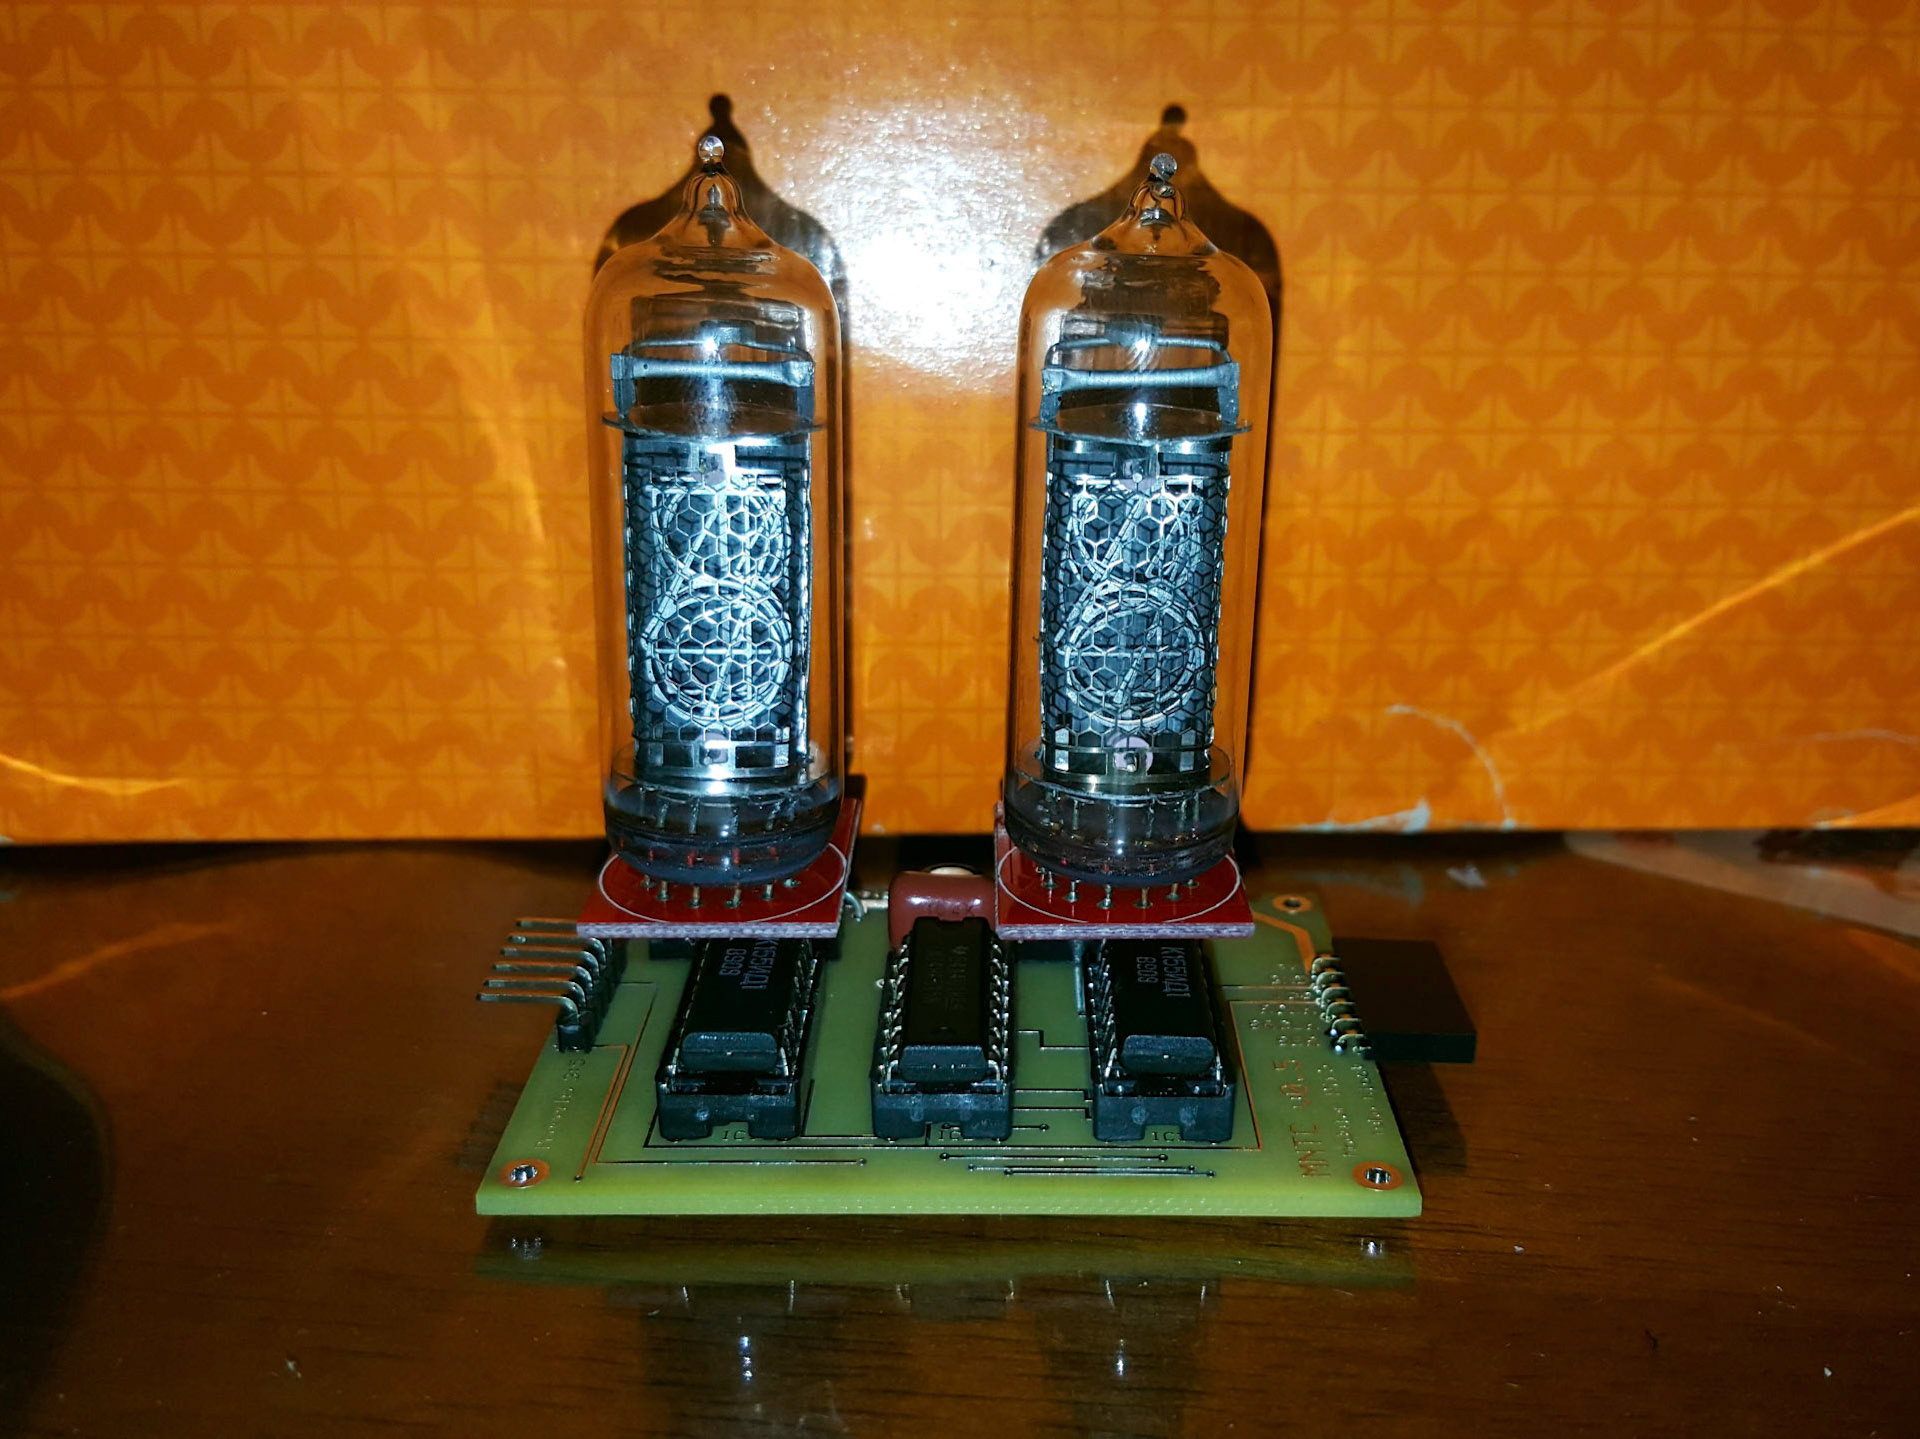
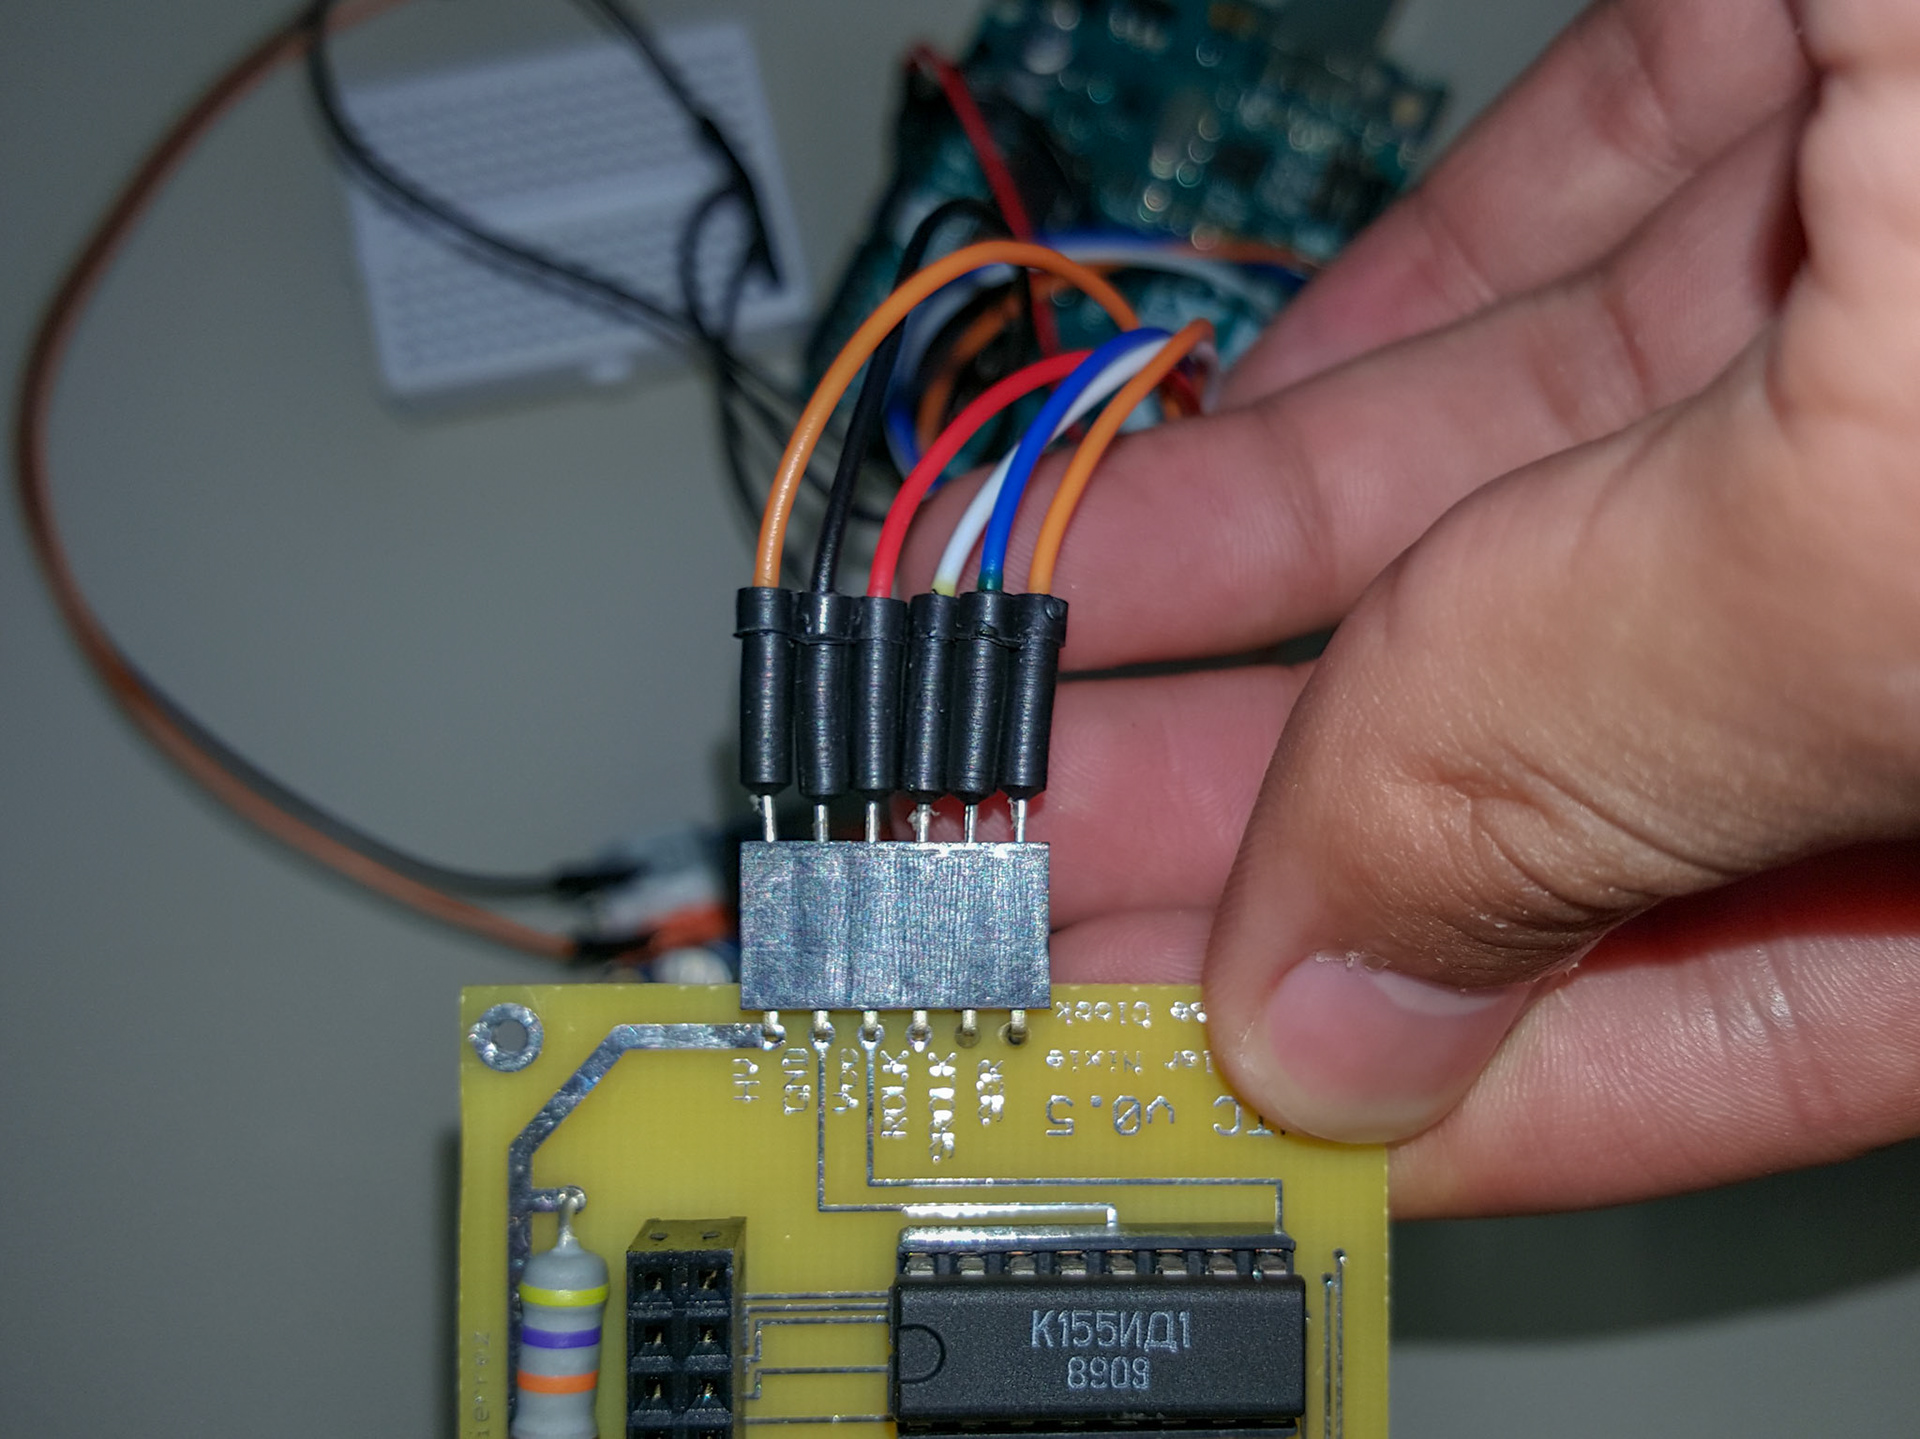
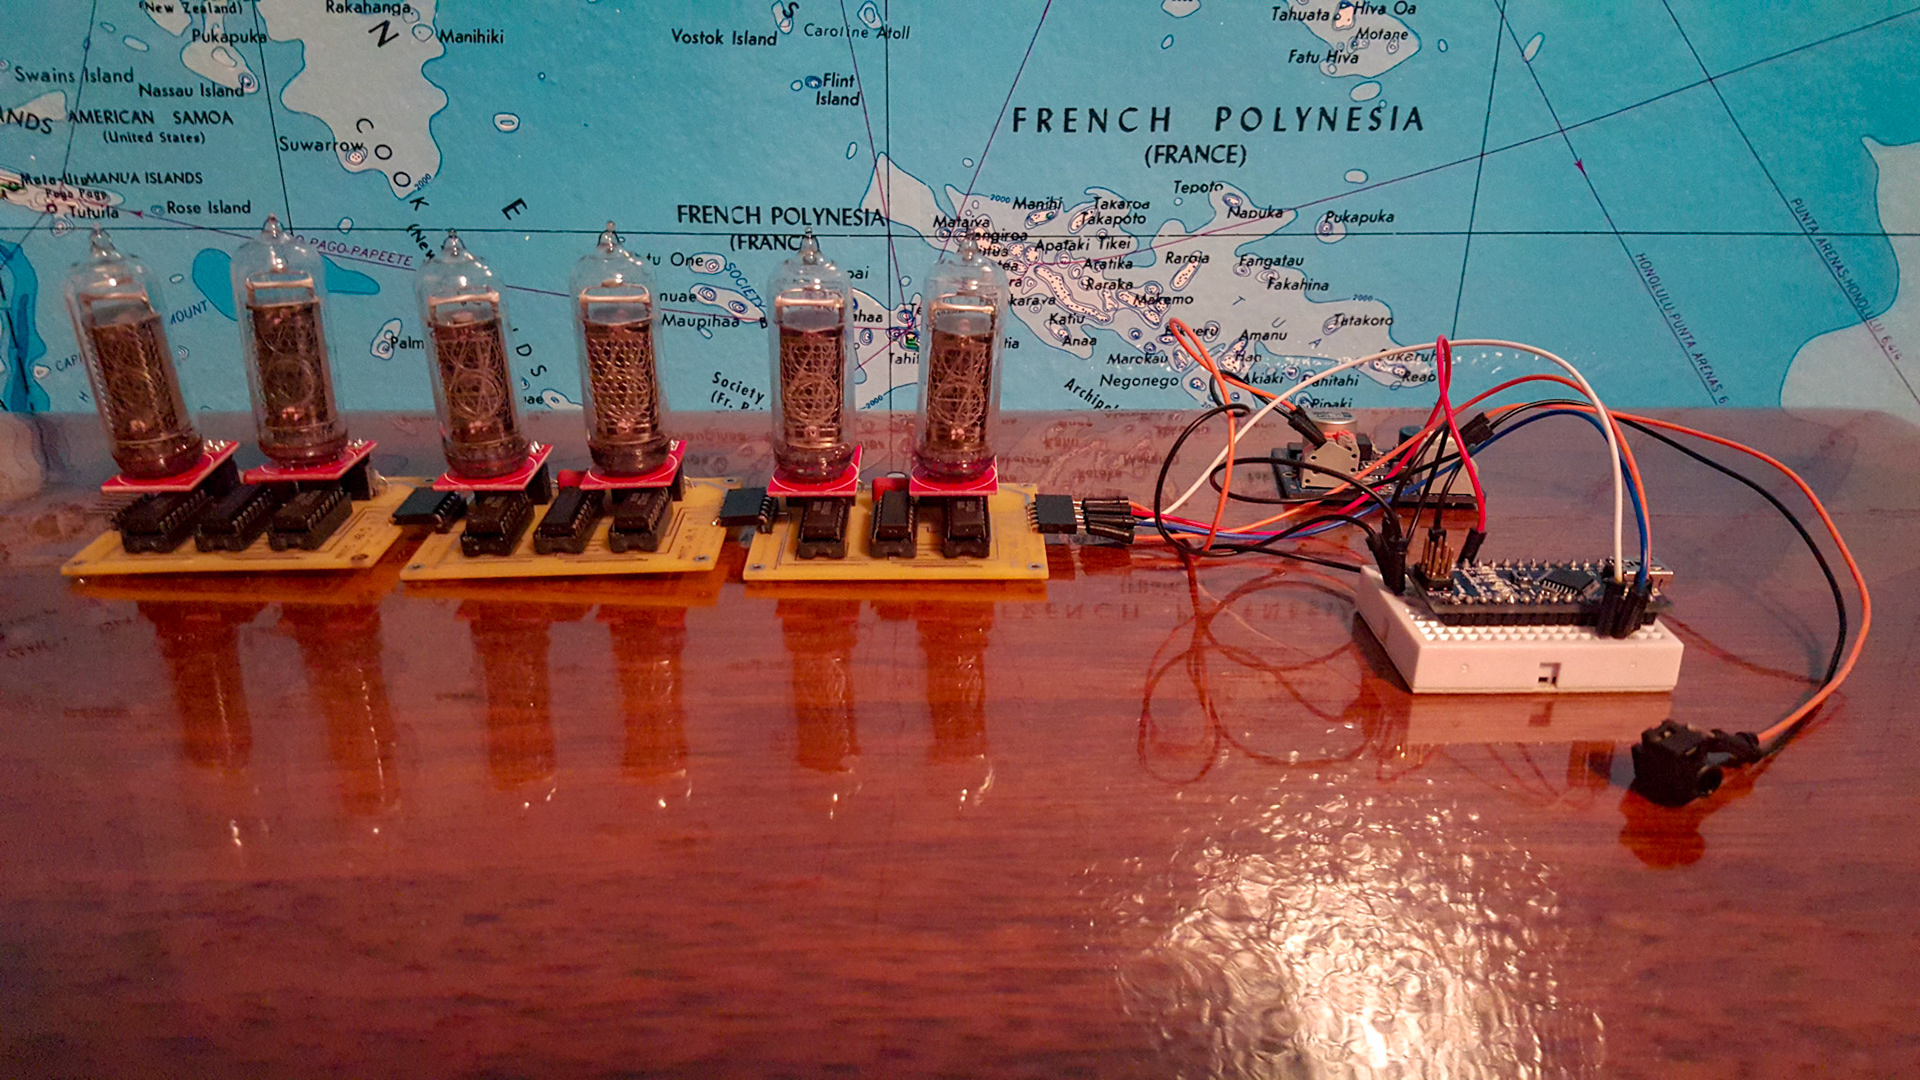
Now, it is extremely cumbersome to move the contraption with a whole bunch of jumper wire everywhere. After some more research on the internet I discovered a small kit that can be used as a modular nixie tube clock. The disappoint part was it looked like the creators abandoned the cite and there was not way to purchase the circuit boards. So, I took it upon myself to design my own circuit boards and have them printed. As displayed in the gallery below, the circuit boards made the whole system much more compact.



March, 2018
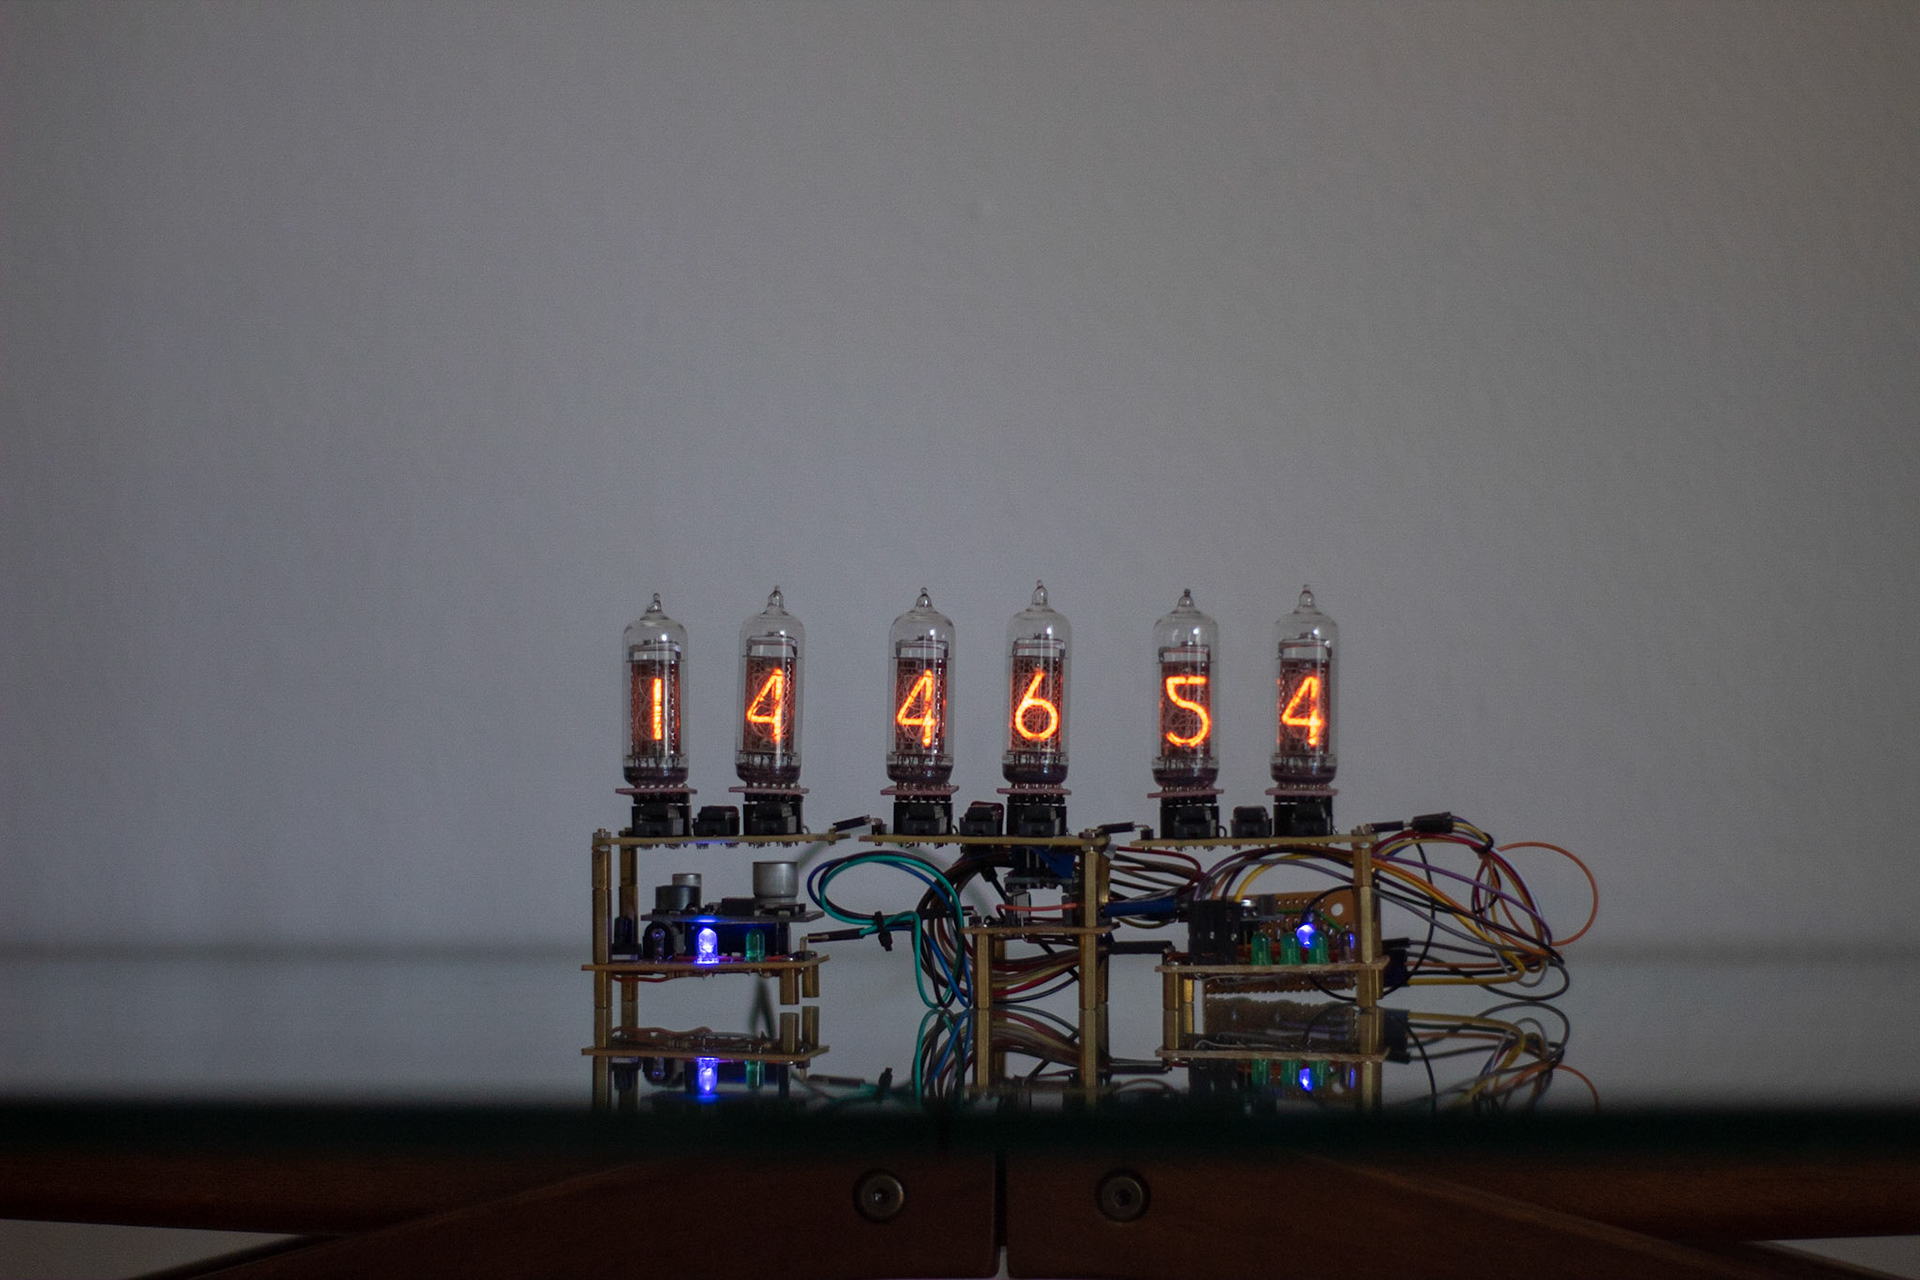
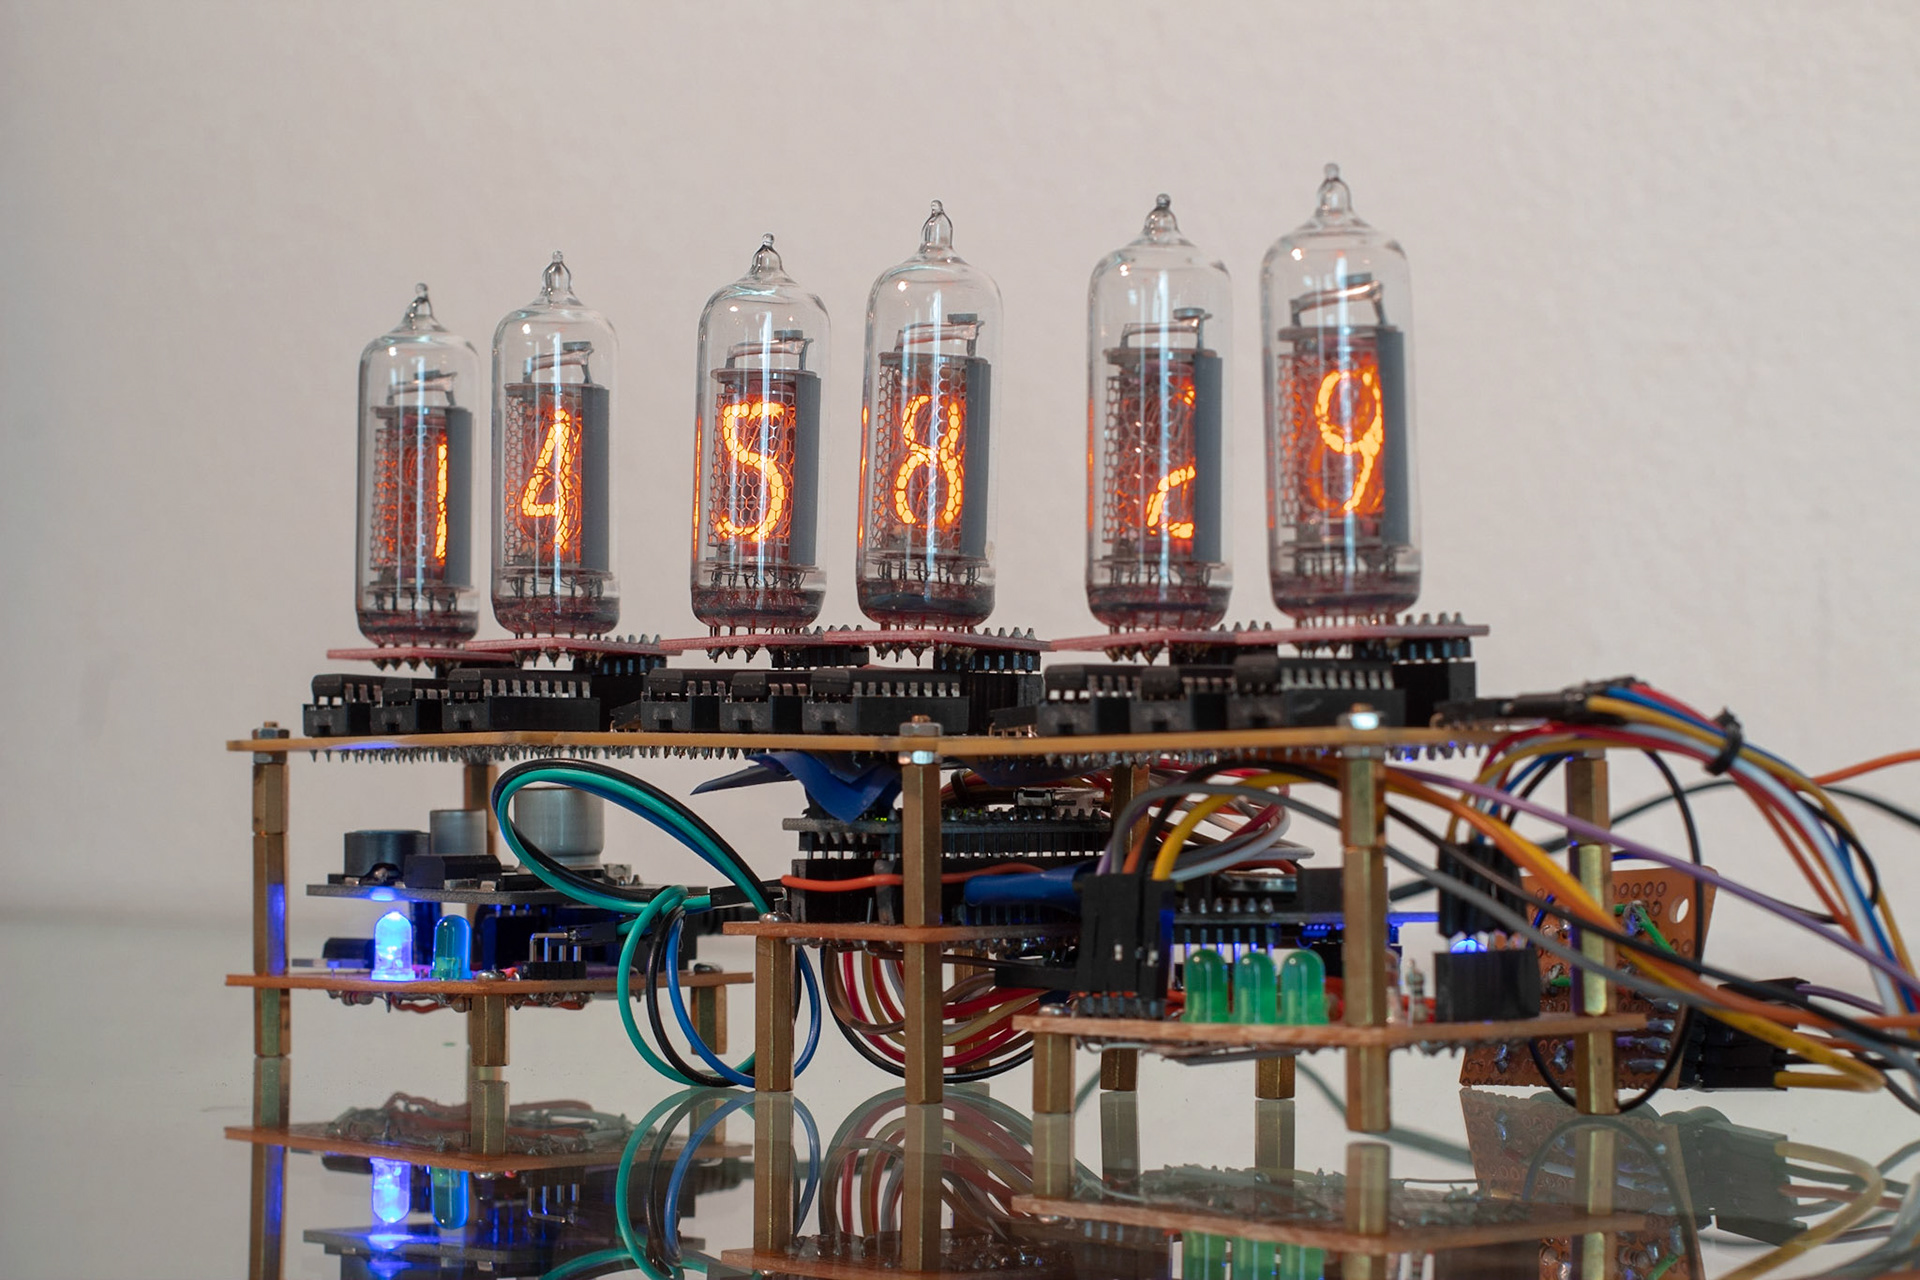
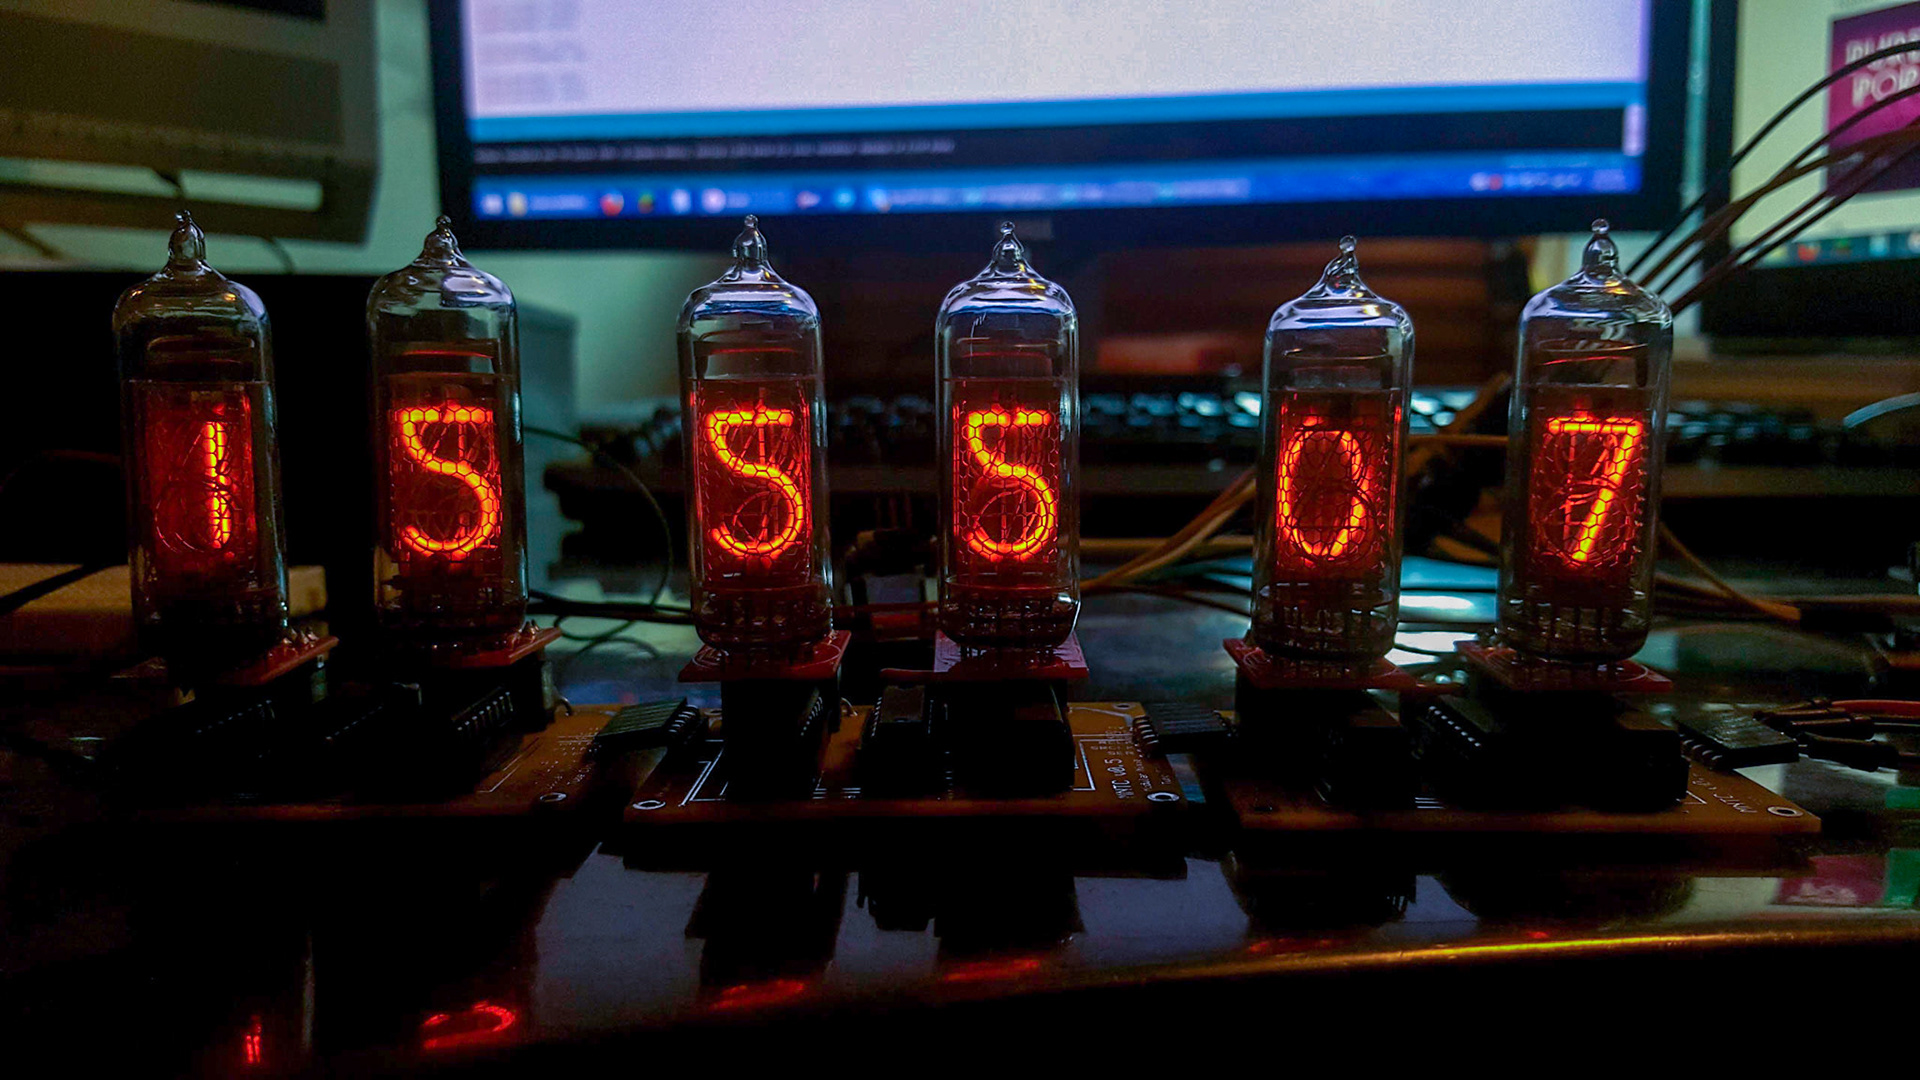
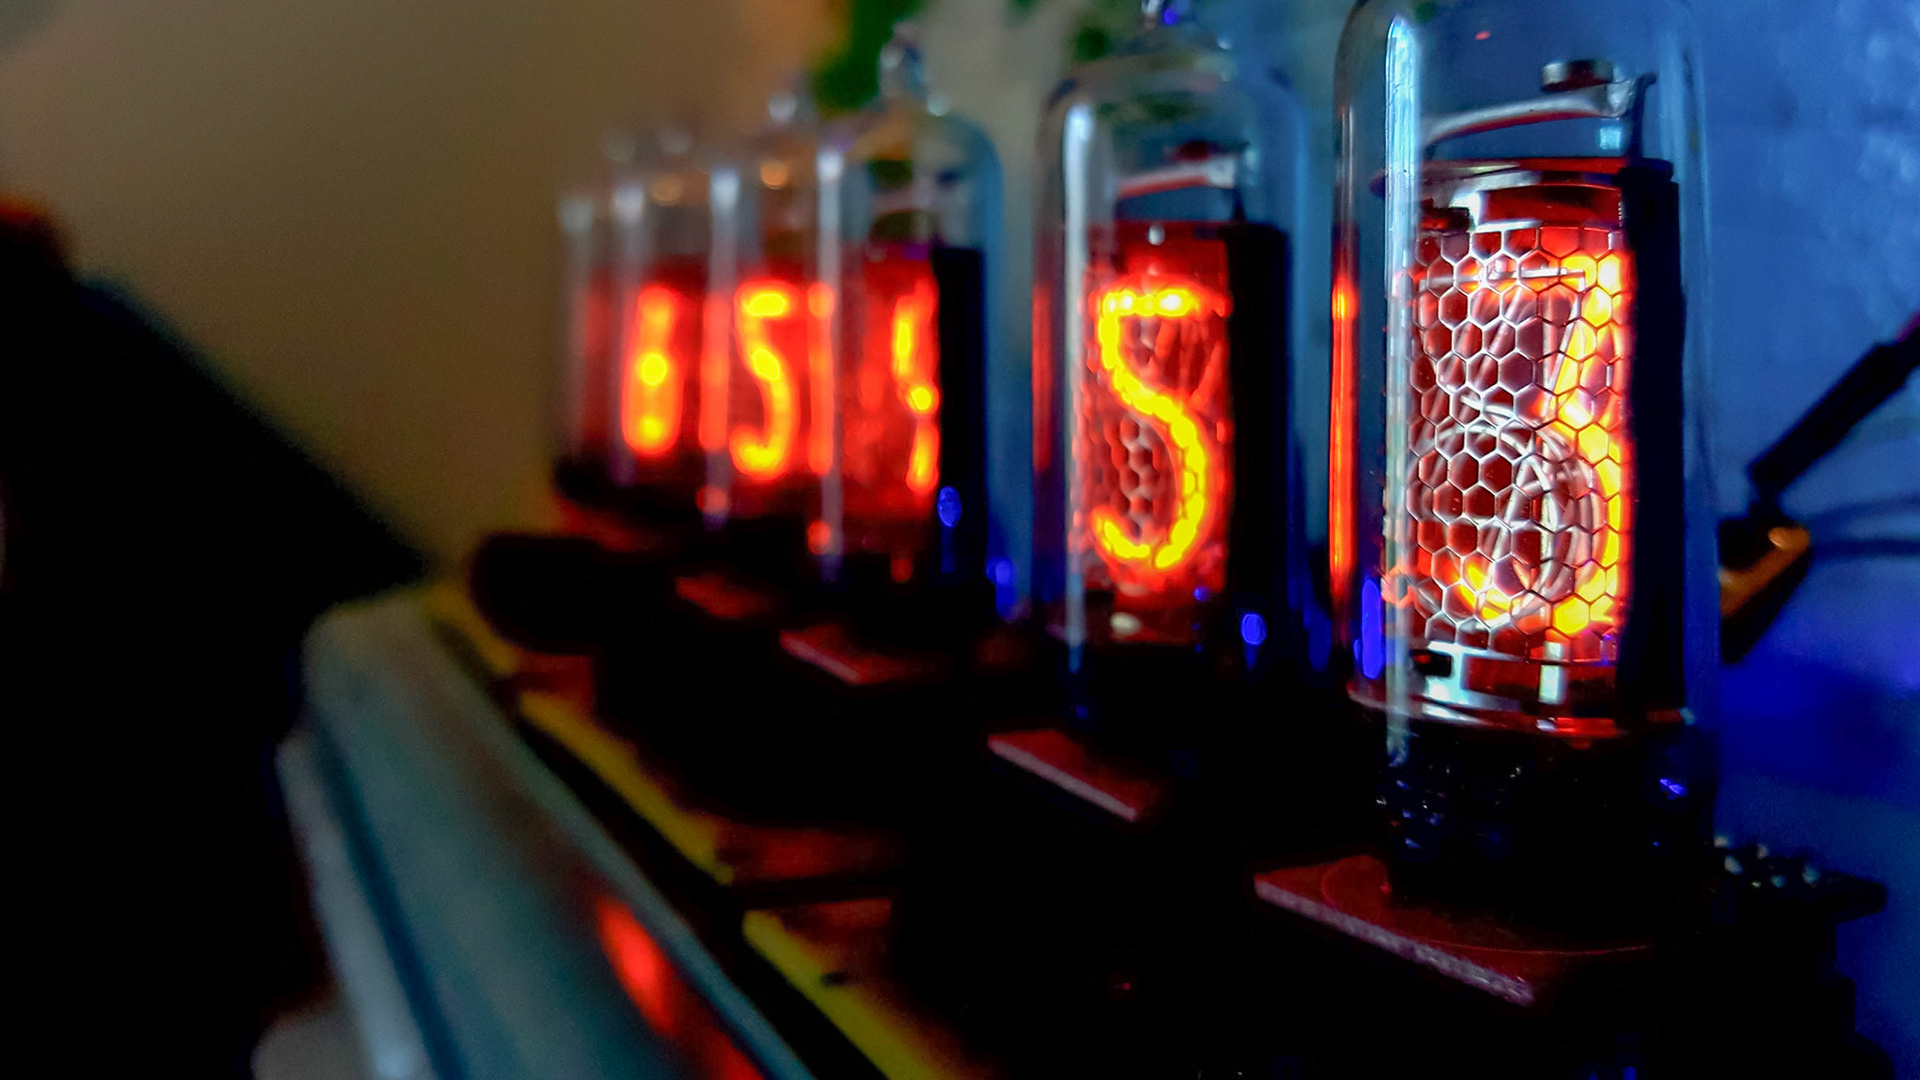
With my life being occupied with school and marching band I had to put the project aside. So far, this clock does not have a case. I plan on adding a case in the future but for now it works just fine. I have left the clock unplugged for months and it does not lose time. Below are some updated images of the clock.
